GC 4060 4 Color Process Label
About the Project
This is a made up brand for my packaging and specialty printing class at Clemson University. This specific project focuses on the use of all CMYK process colors and foil along with a brand topic, in order to create a label to include in my product line. I have chosen to create this promotional sticker to enhance my product line alongside all other products.
Objective: To design, perform prepress functions, perform make-ready, and production of a 4 color plus foil design.
Purpose: To identify areas of concern or difficulty in design based on production equipment available, art limitations, and reflection of production of designed artwork.
About the Brand
At Happy Hydro, we believe that everyone should be able to consume their daily nutrients with ease. Our refreshing drinks are organic and promote digestive, immune, respiratory, and metabolic health. We offer a variety of flavors so that everyone can enjoy our drinks. If you are looking for a drink that will keep you happy and healthy, we are the brand for you!
Workflow
Thumbnails
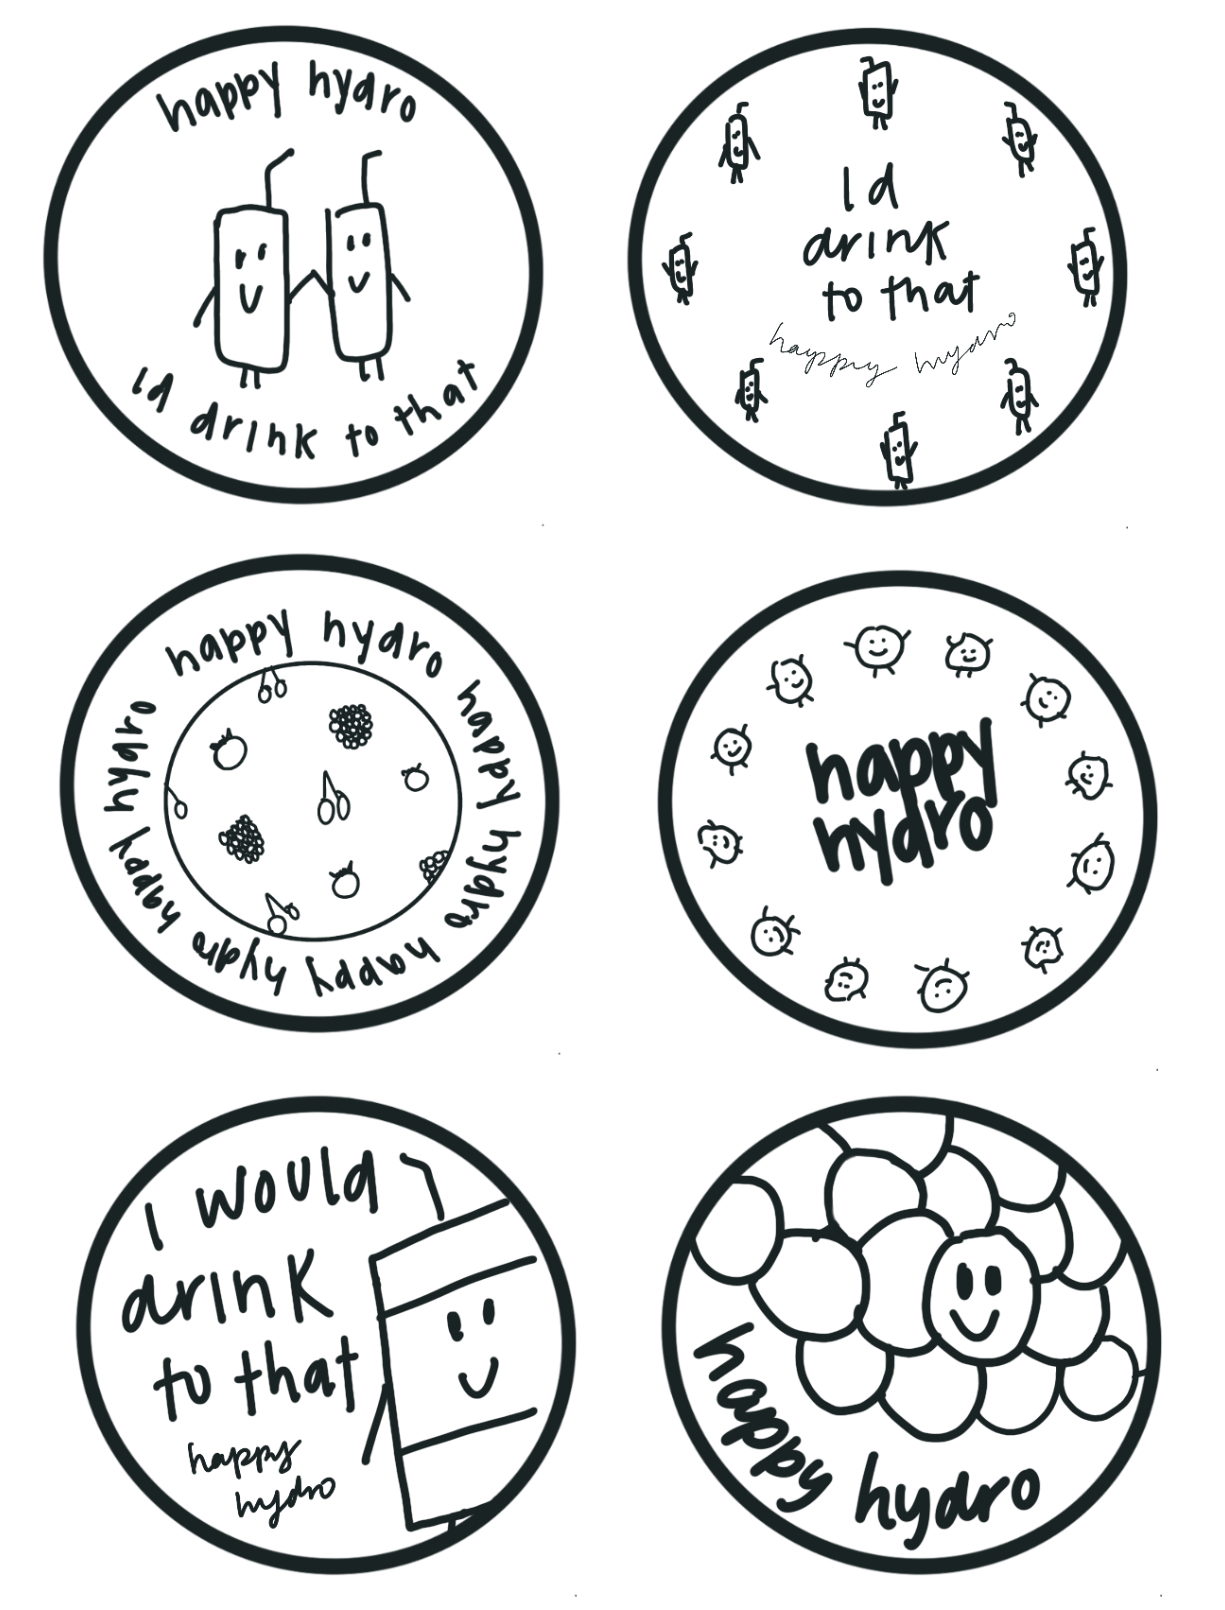
When thinking of a design for this promotional brand sticker, I knew that I wanted to do something fruit related within my design, but different than my 3 color label project. The thumbnails that I created represent my brand in a few different ways. Each design has either fruit or a drink represented on the sticker in some way. I came up with the slogan “I’d drink to that” to go along with my brand as well and used in these stickers.
I received constructive criticism from my lab instructor and classmates before creating the final designs. The thumbnail in the top left and middle right are the thumbnails that I based my final designs off of. Based on feedback, these two stickers helped enhance my brand the most while having some variety within the designs.
Proofs
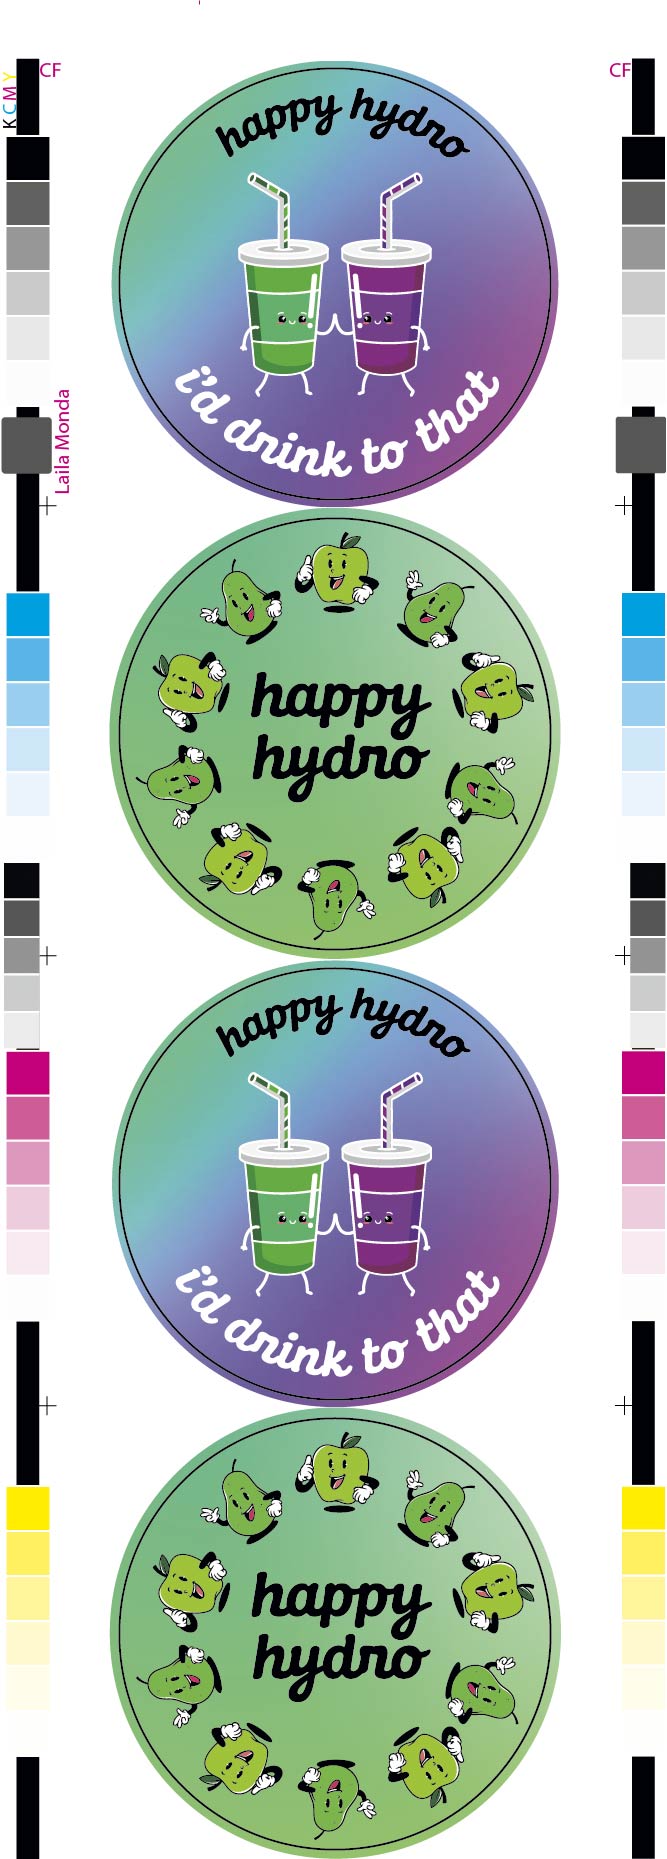
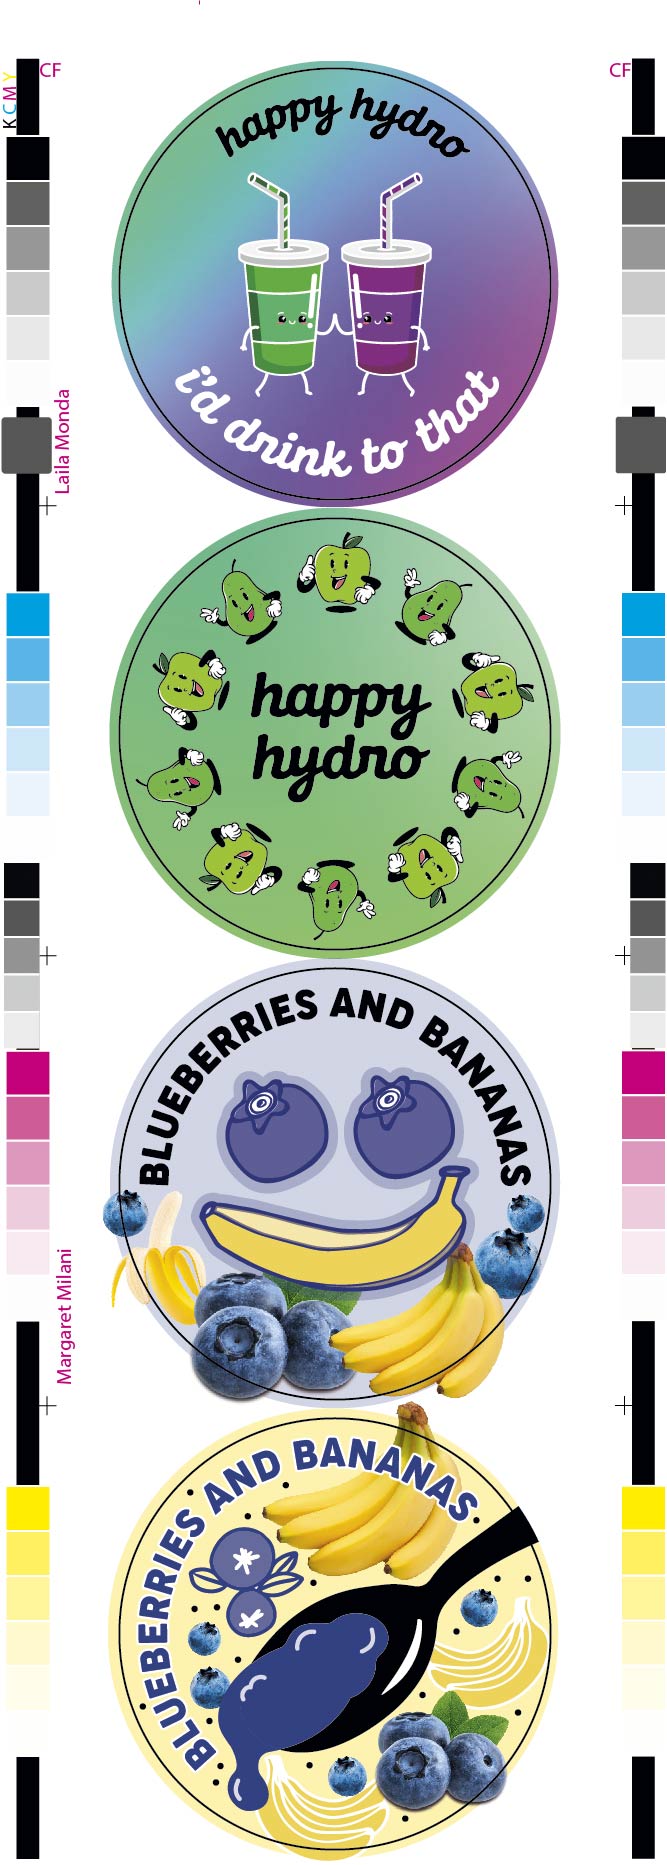
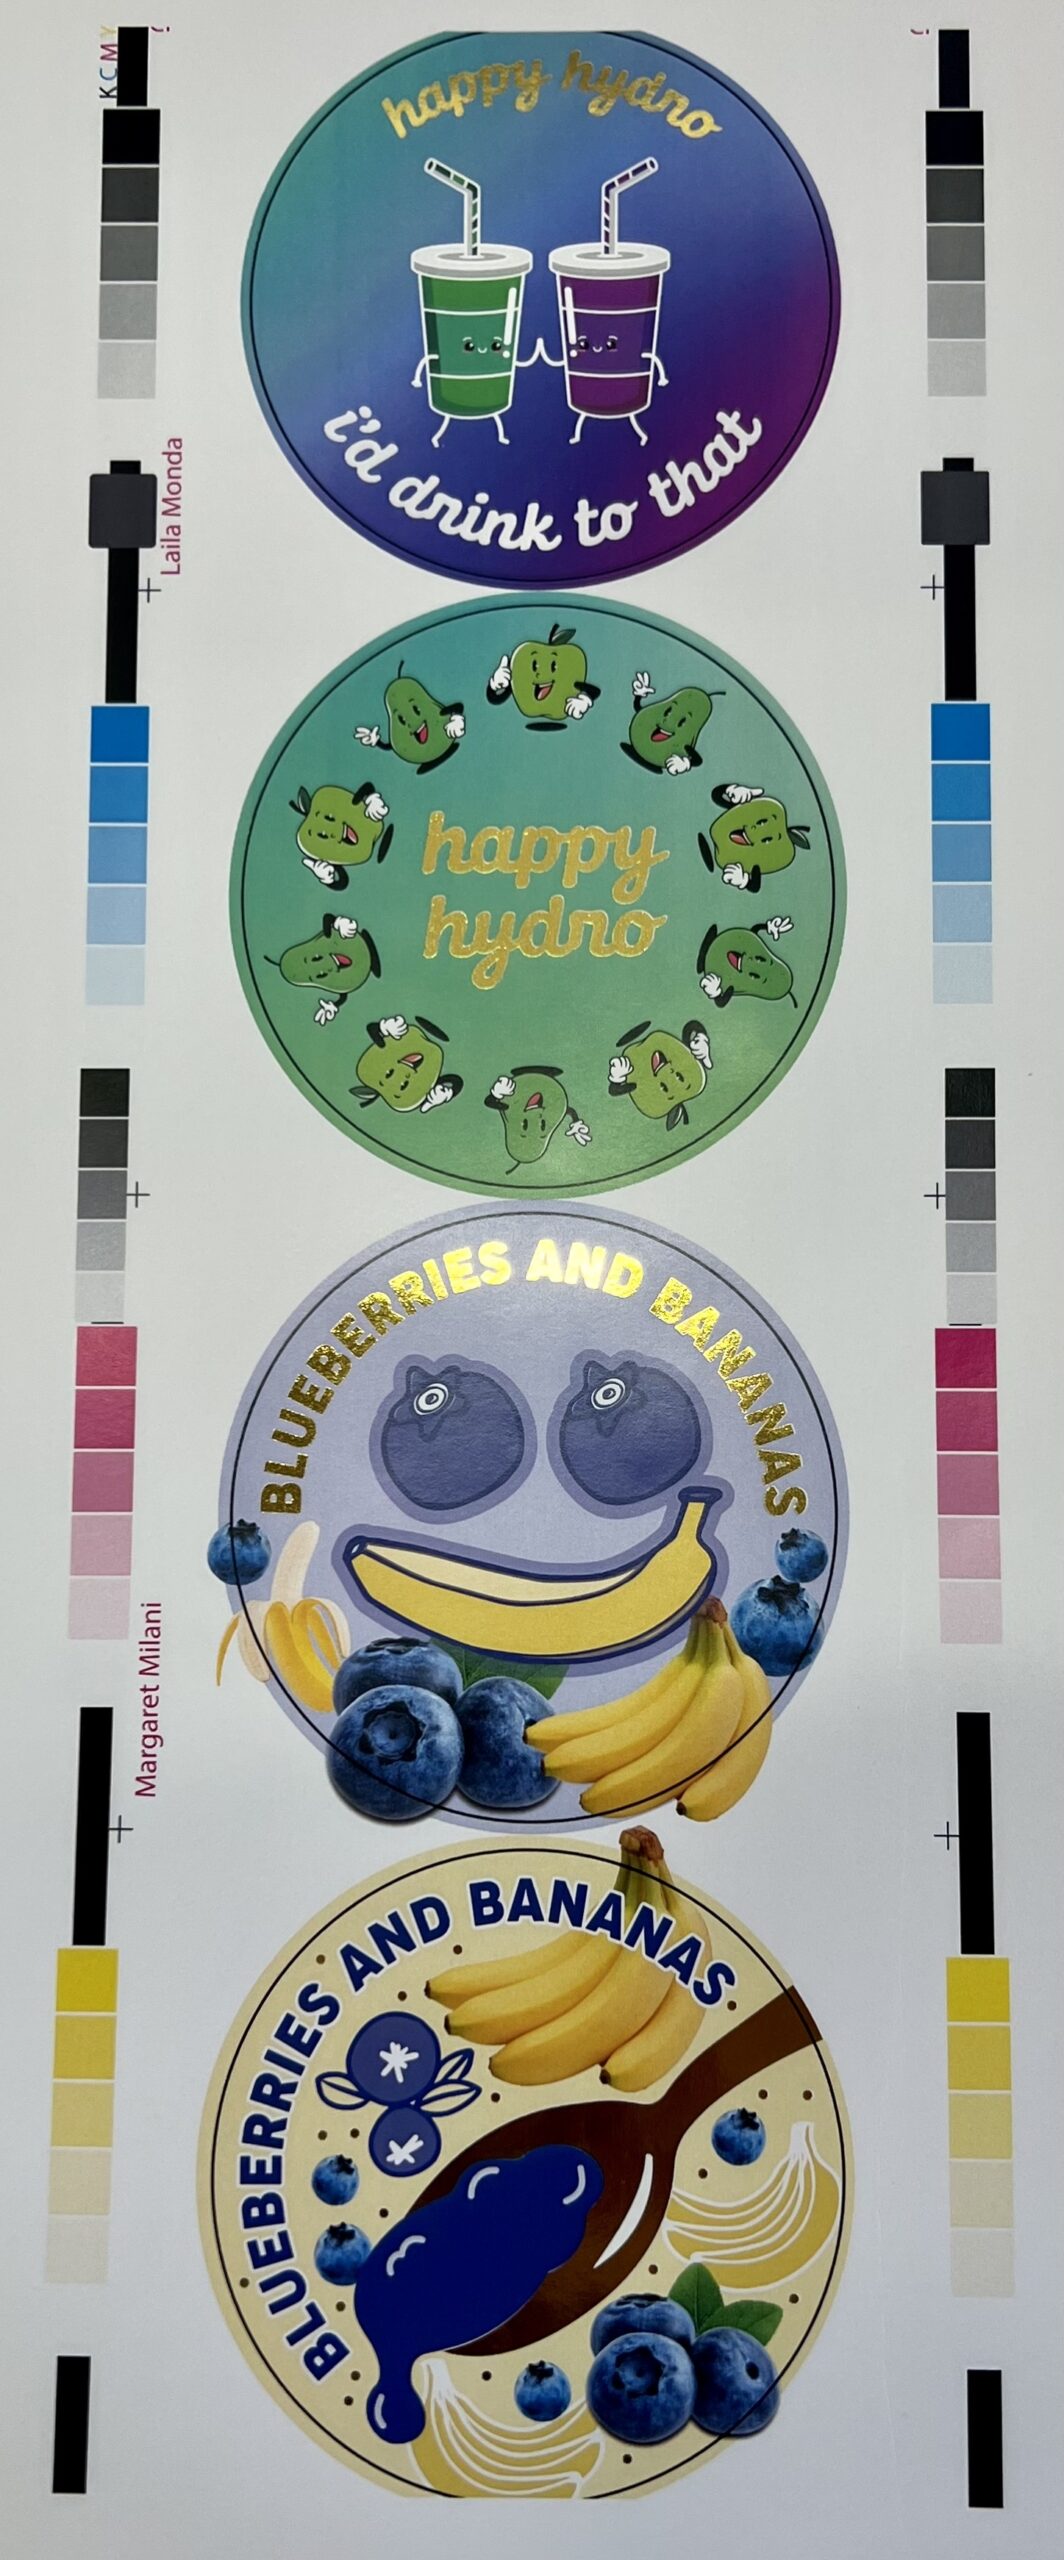
The image on the left is how my proof looks on screen, the image in the middle is how the proof looks on screen once my lab partner and I combined our files, and the image on the right is how the proof looks printed out with the foil added. Our proof shows the use of gold foil, but we decided to use silver in our final product.
Prepress
My lab partner and I both put our artwork onto one file and completed the final prepress steps. We trapped and assigned an LPI of 150 in ArtPro along with making sure all colors within the artwork were built in CMYK. The screen angles for each color are as follows: cyan 15, magenta 75, yellow 0, black and foil 45. Our foil layer is represented in black on our proofs, and has its own layer in our file.
Platemaking
Equipment used
- DuPont Cyrel 067 Mils Photopolymer Plate (30 inches)
- Cyrel Fast
- CDI Spark 2530
- Cyrel Fast 1000 TD Thermal Developer
- Paper Cutter & Exacto Knife
Steps to Platemaking
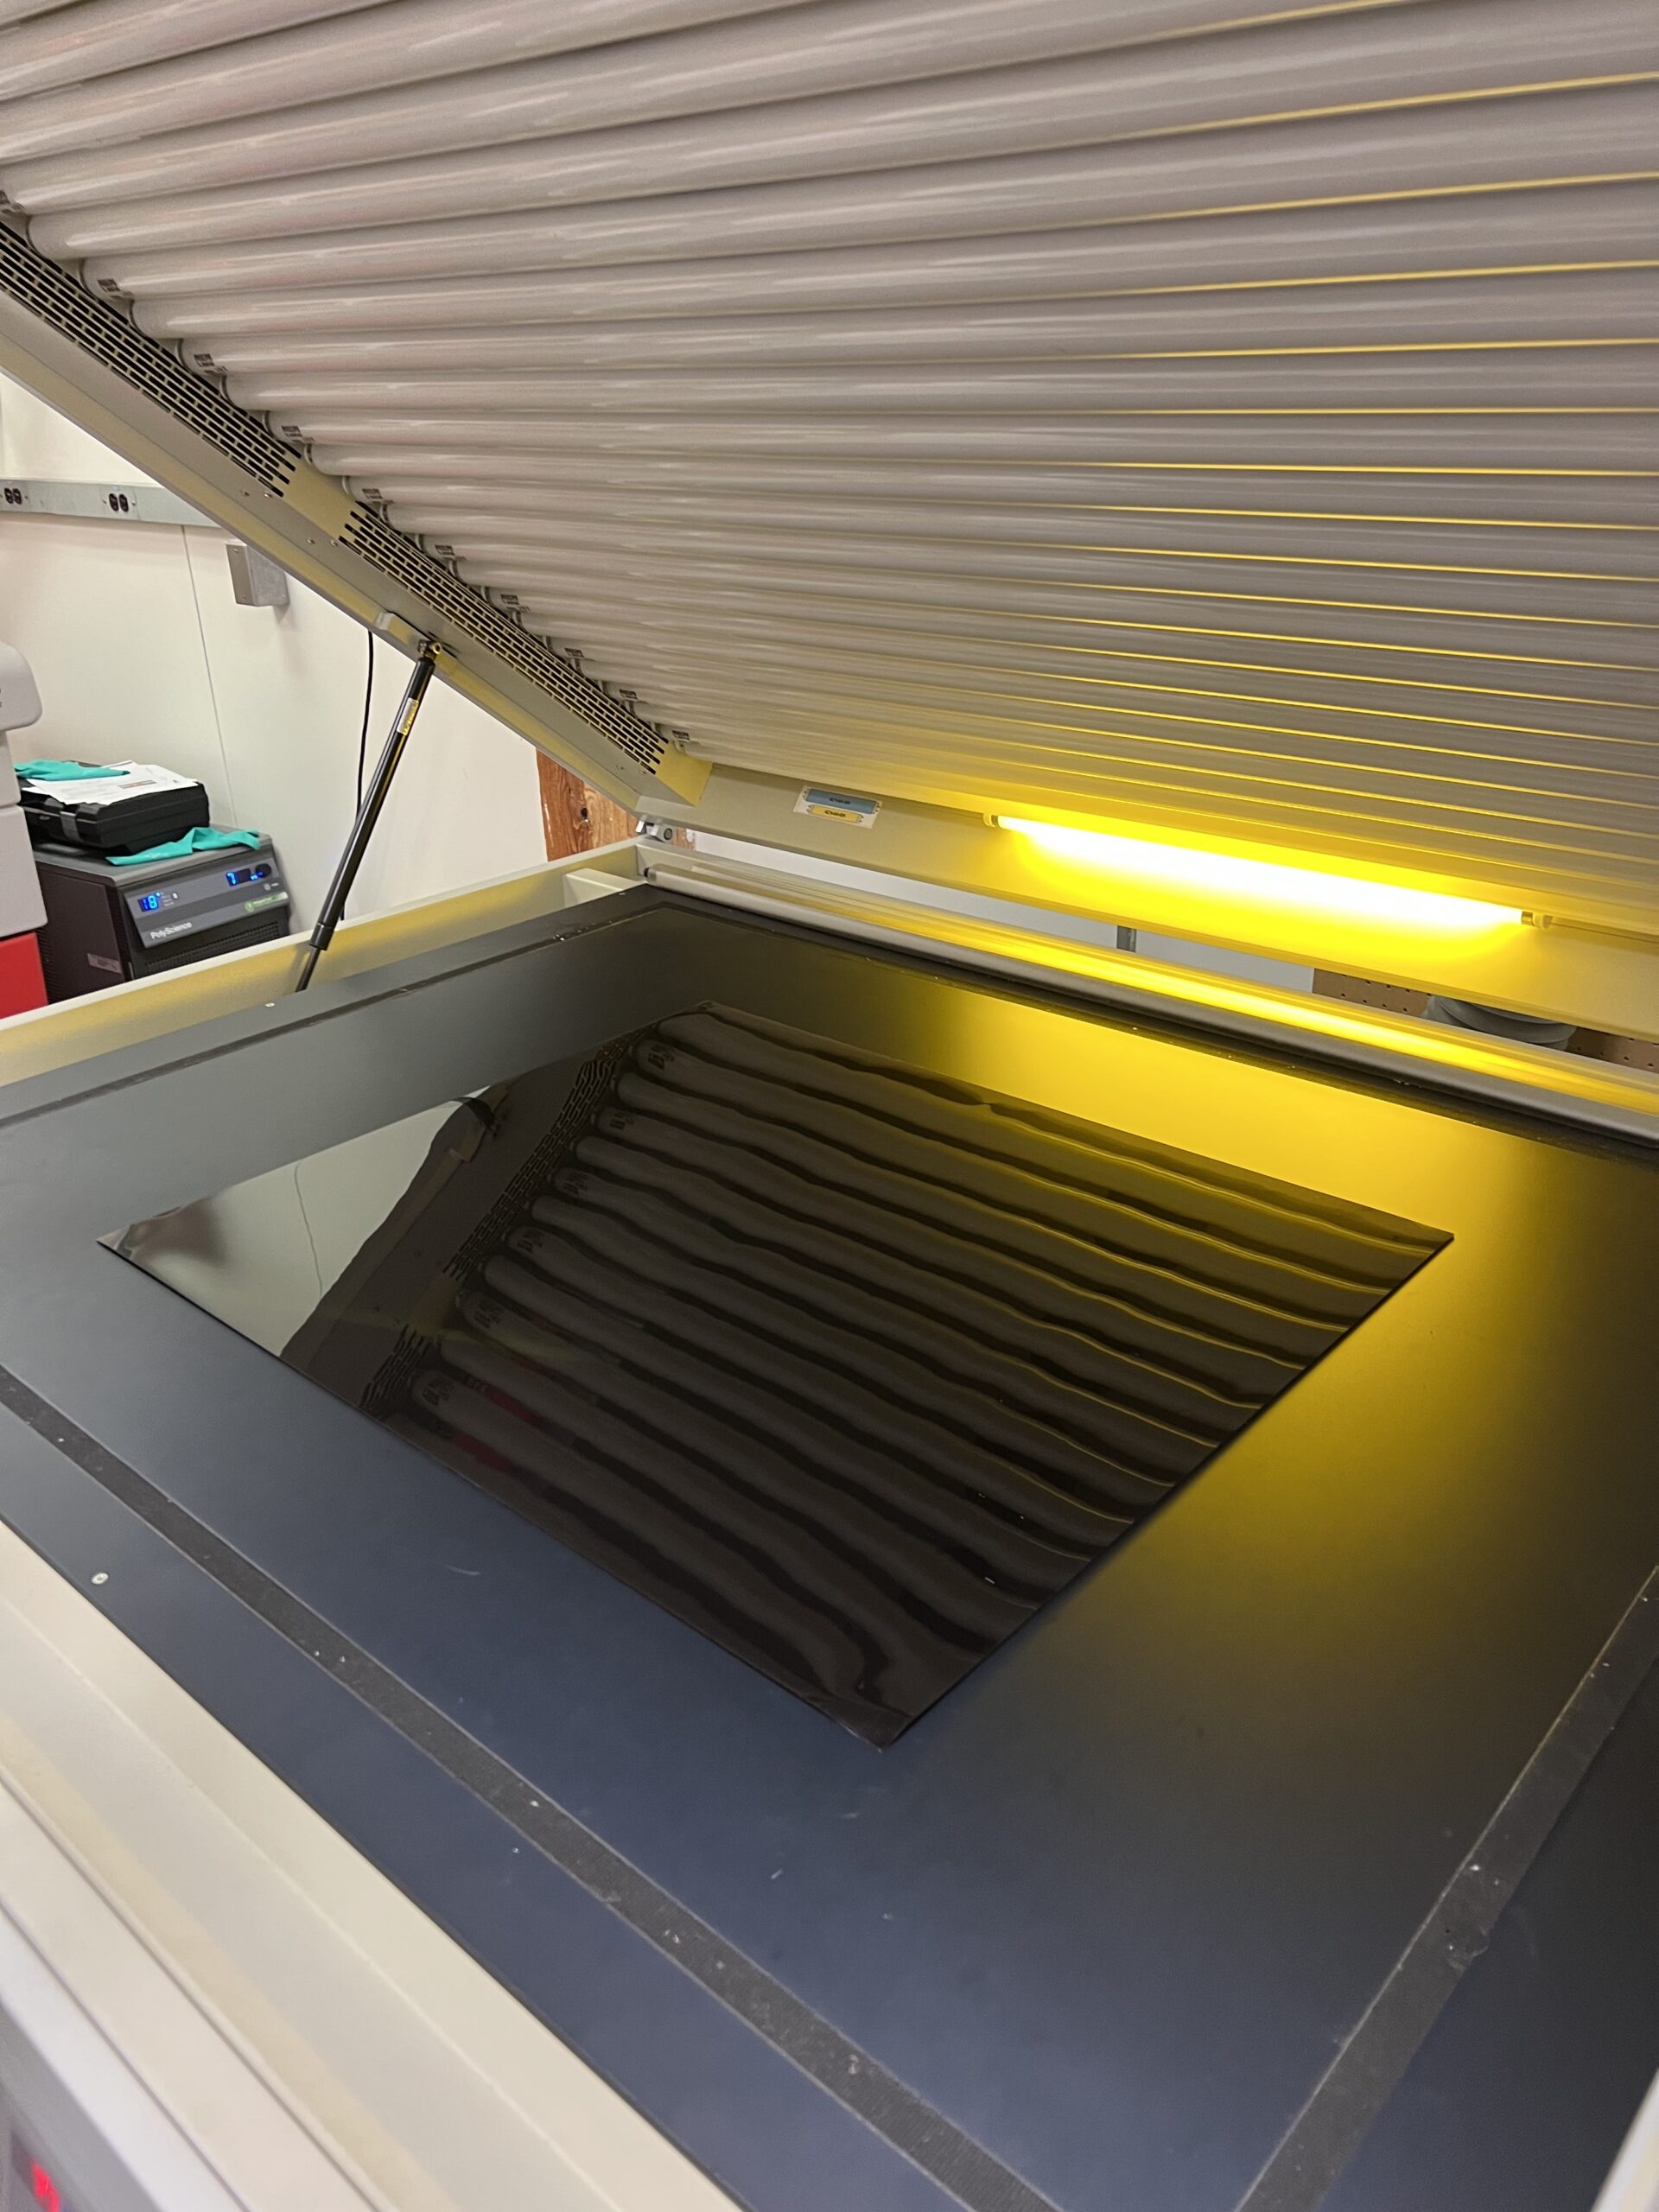
Step 1: Back expose plate (glossy side up) for 85 seconds.
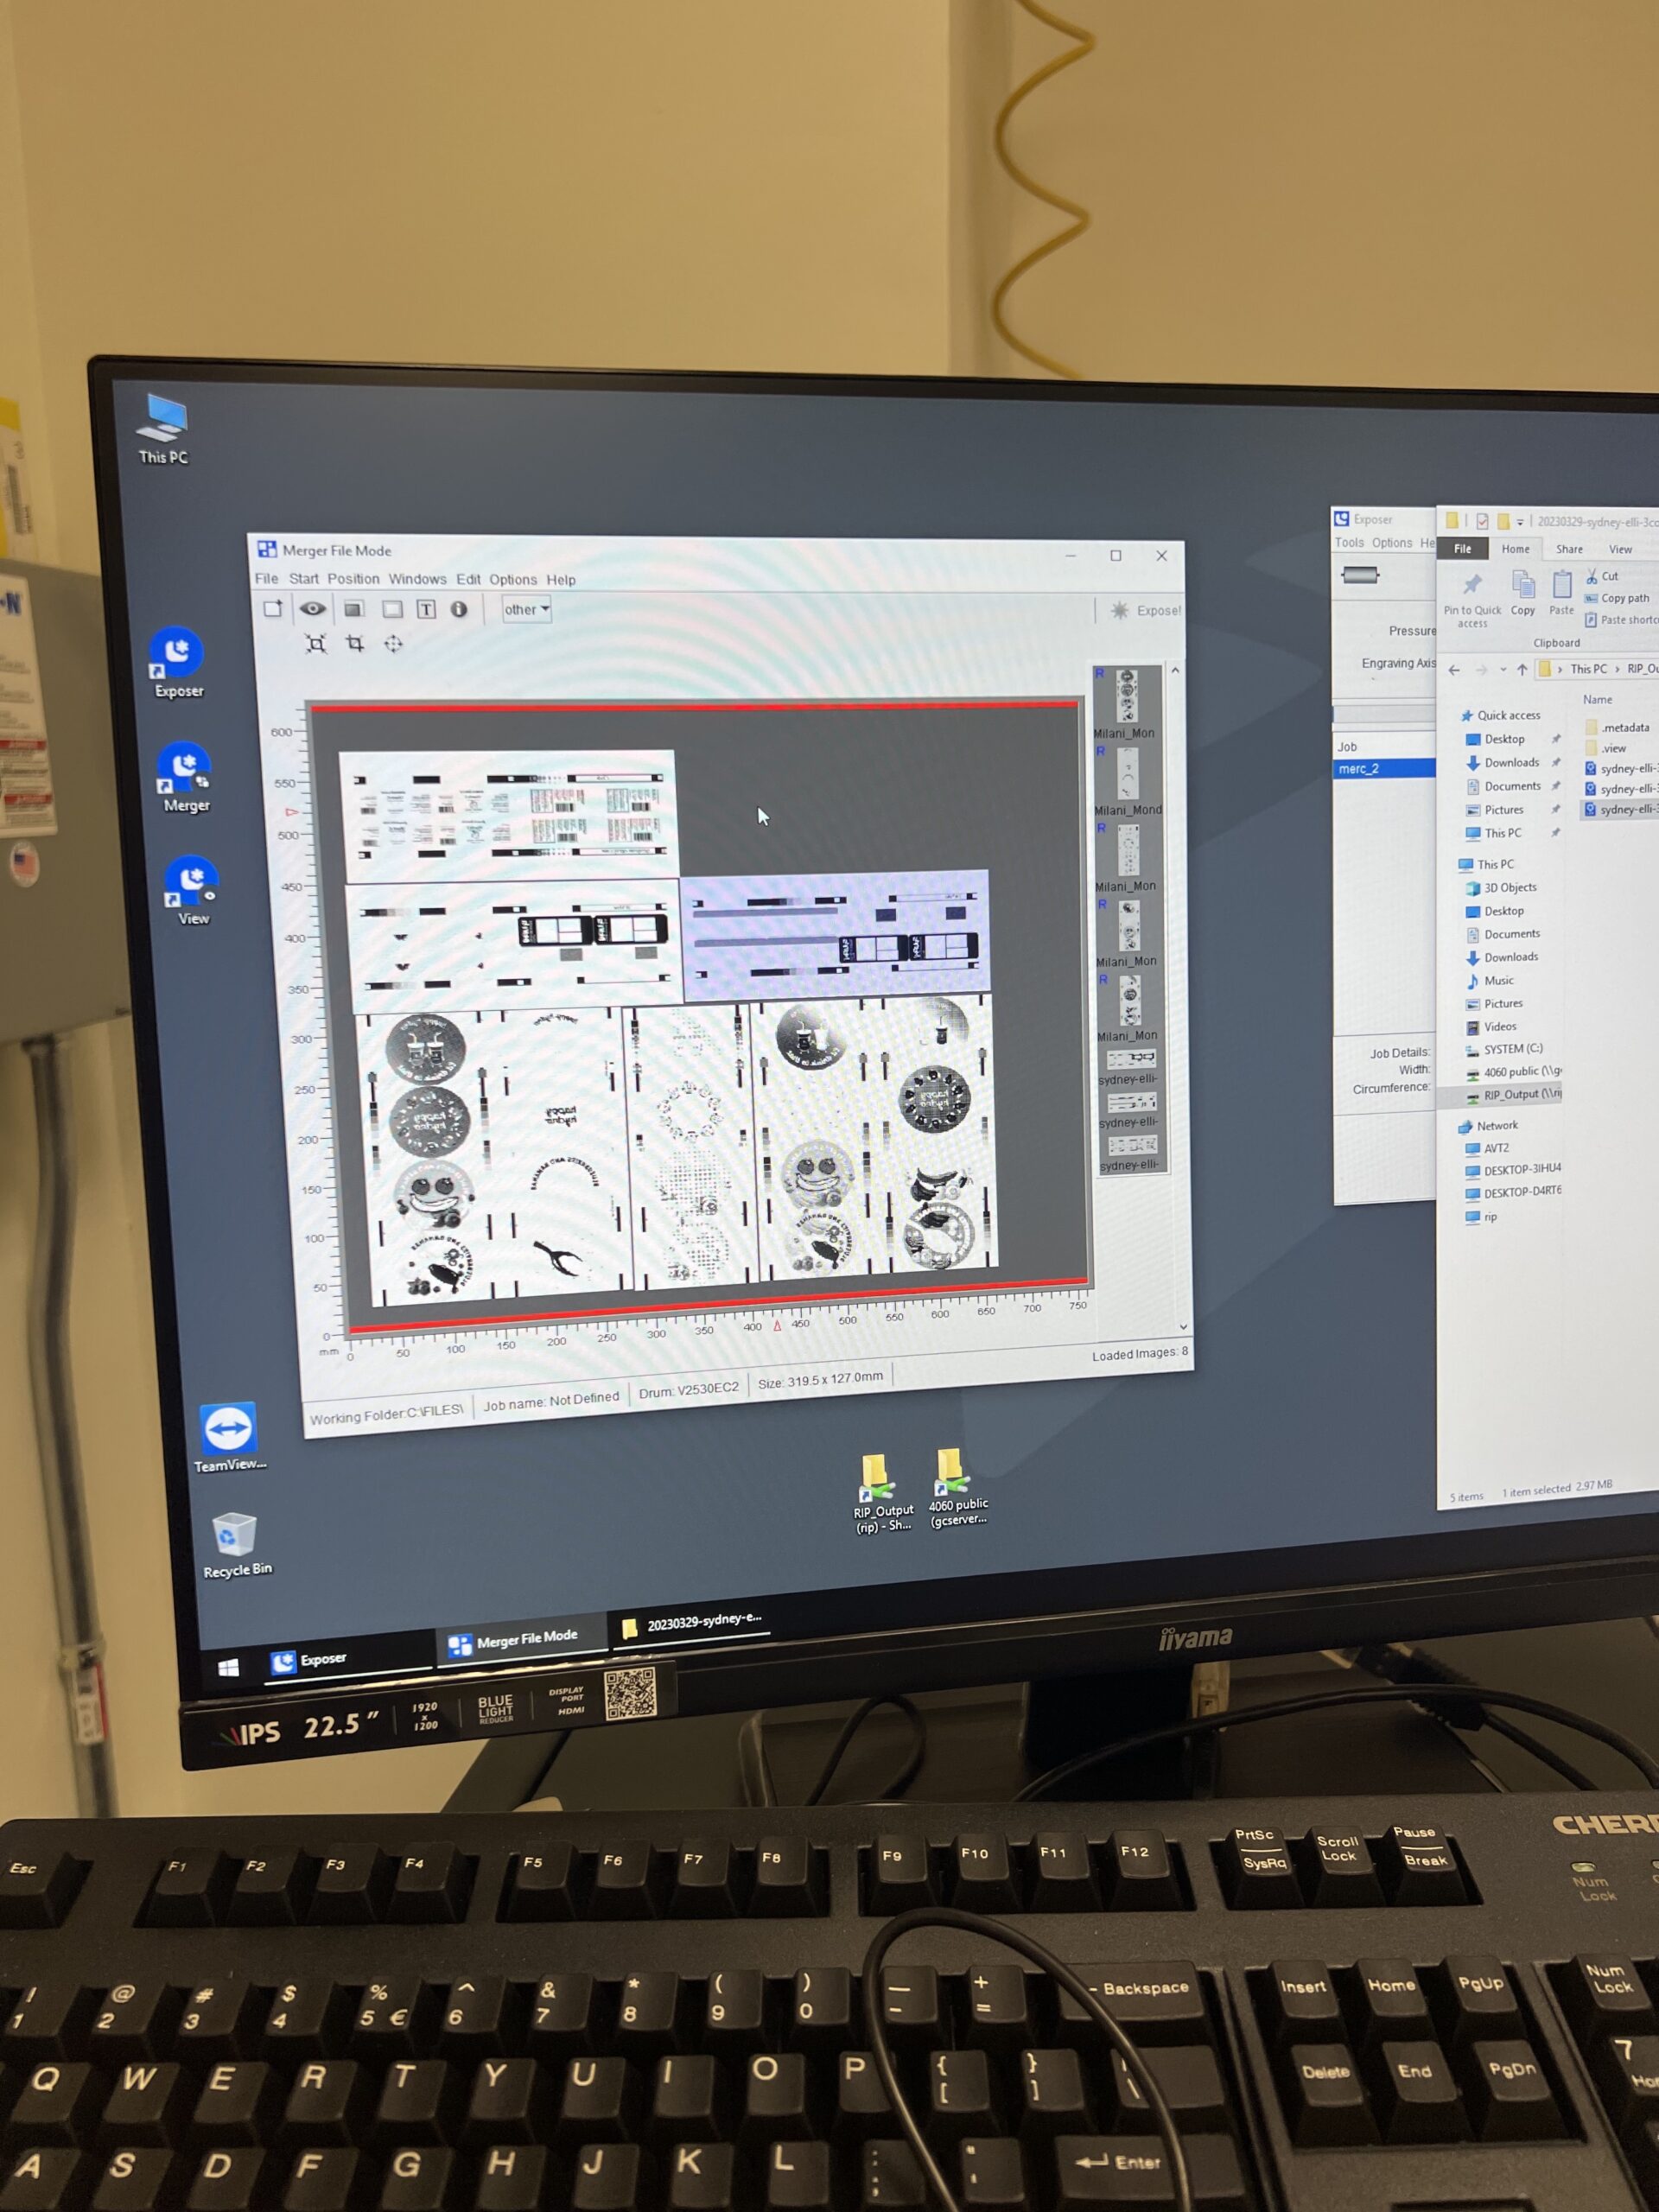
Step 2: Drag and drop files into the “merger” folder on the imager, and organize them with space in between. Select DFR067 for the size and 30mm for the position.
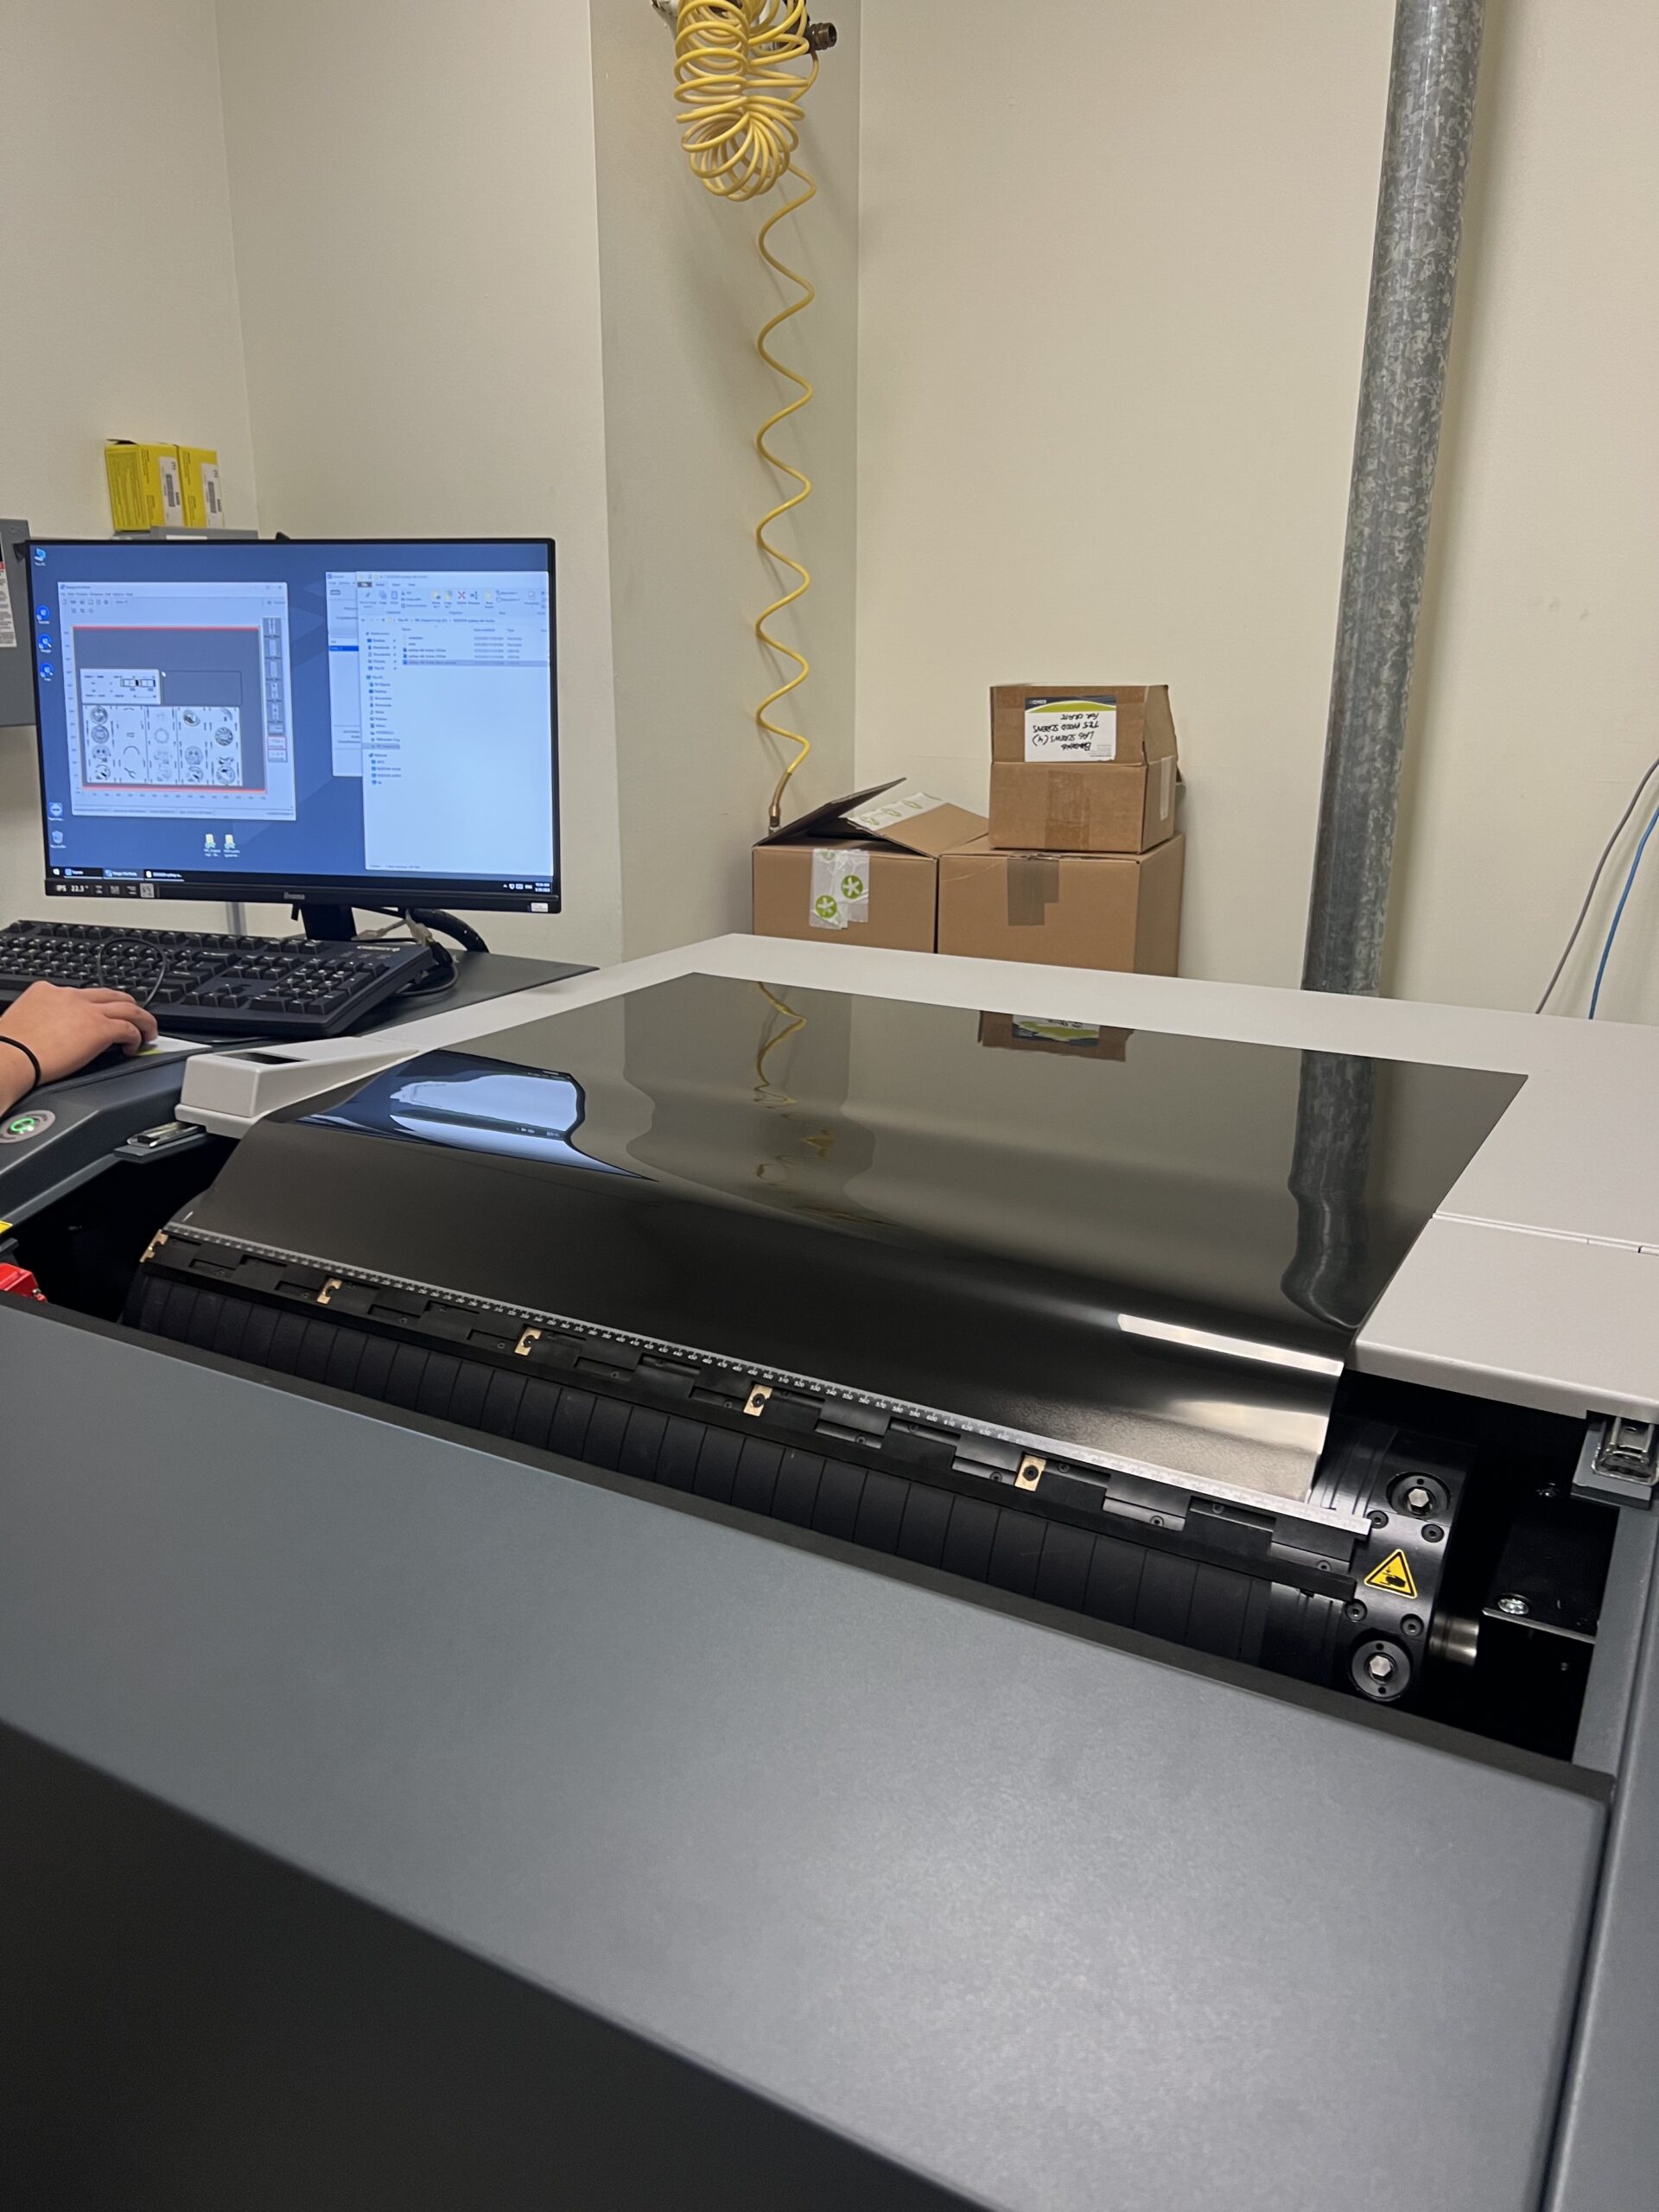
Step 3: Tear off the film on the plate in one motion. Position the plate at the 30mm mark on the ruler, and lock down with wrench. Turn on vacuum to secure plate around the drum and lock the other end of the plate in. Once the cover is fully shut, expose the plate for 30 minutes and name the file.
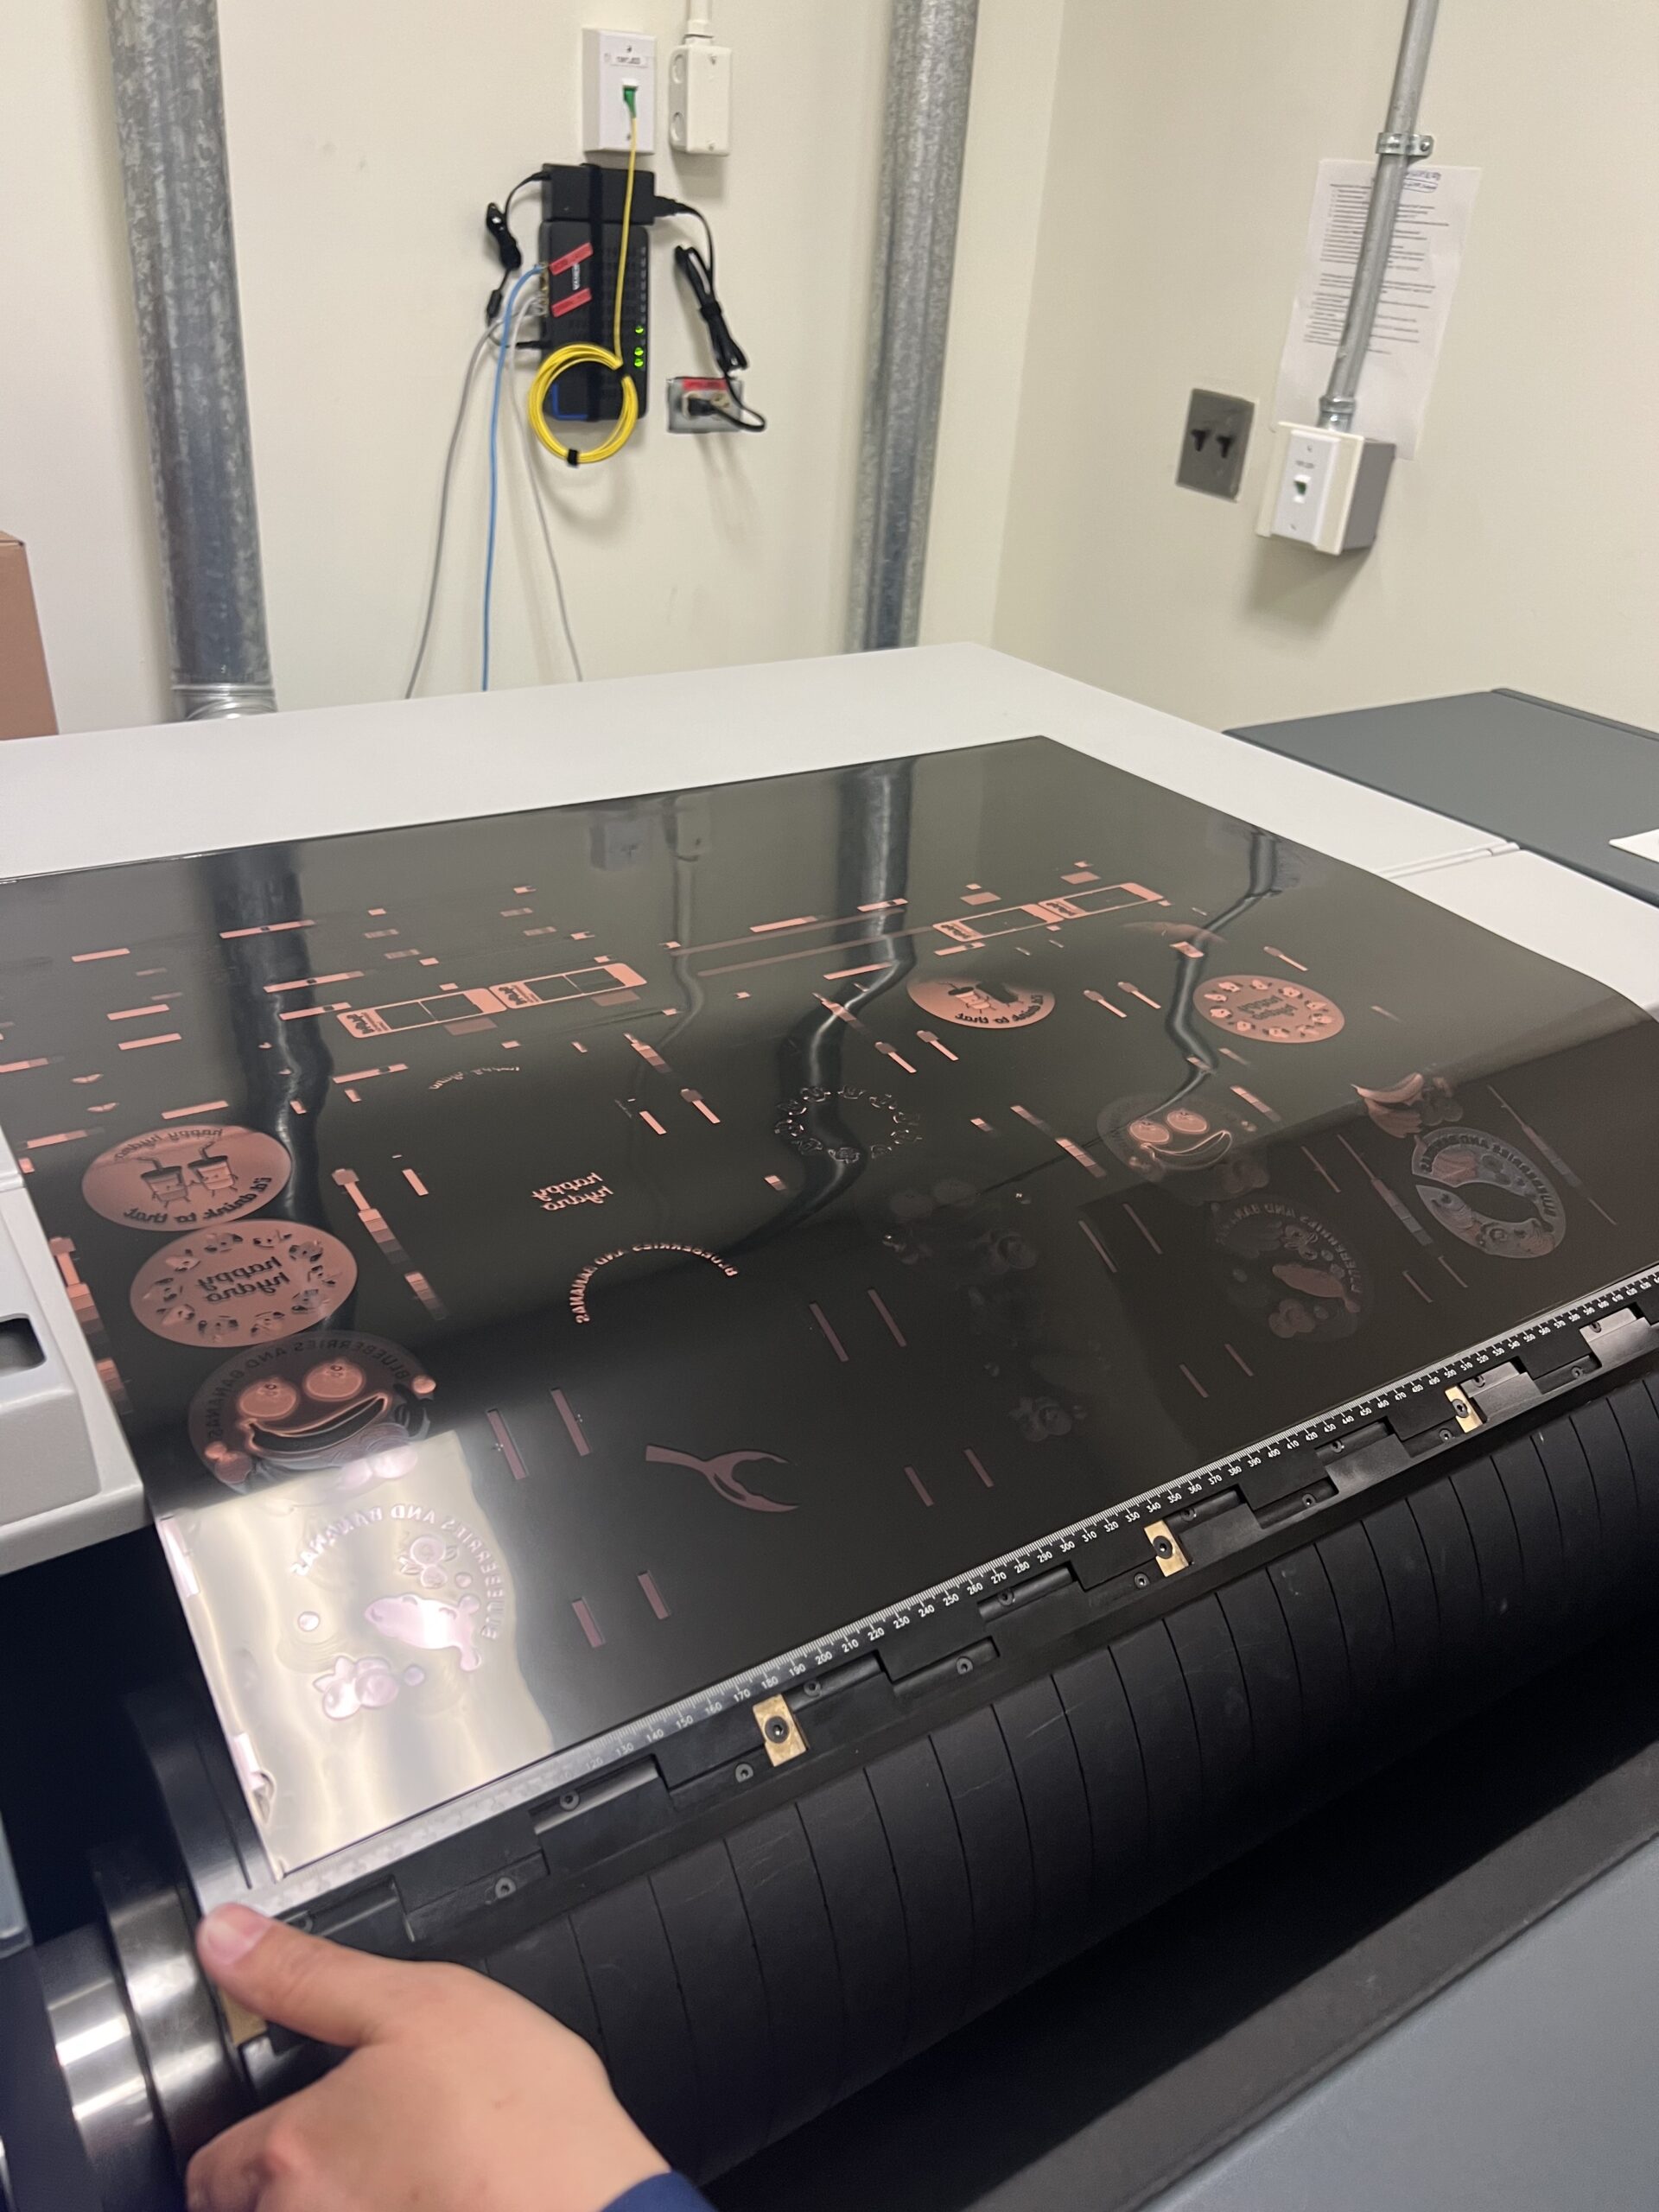
Step 4: Take the plate out of the imager from the non-ruler side. Turn the vacuum off once the plate is off the drum.
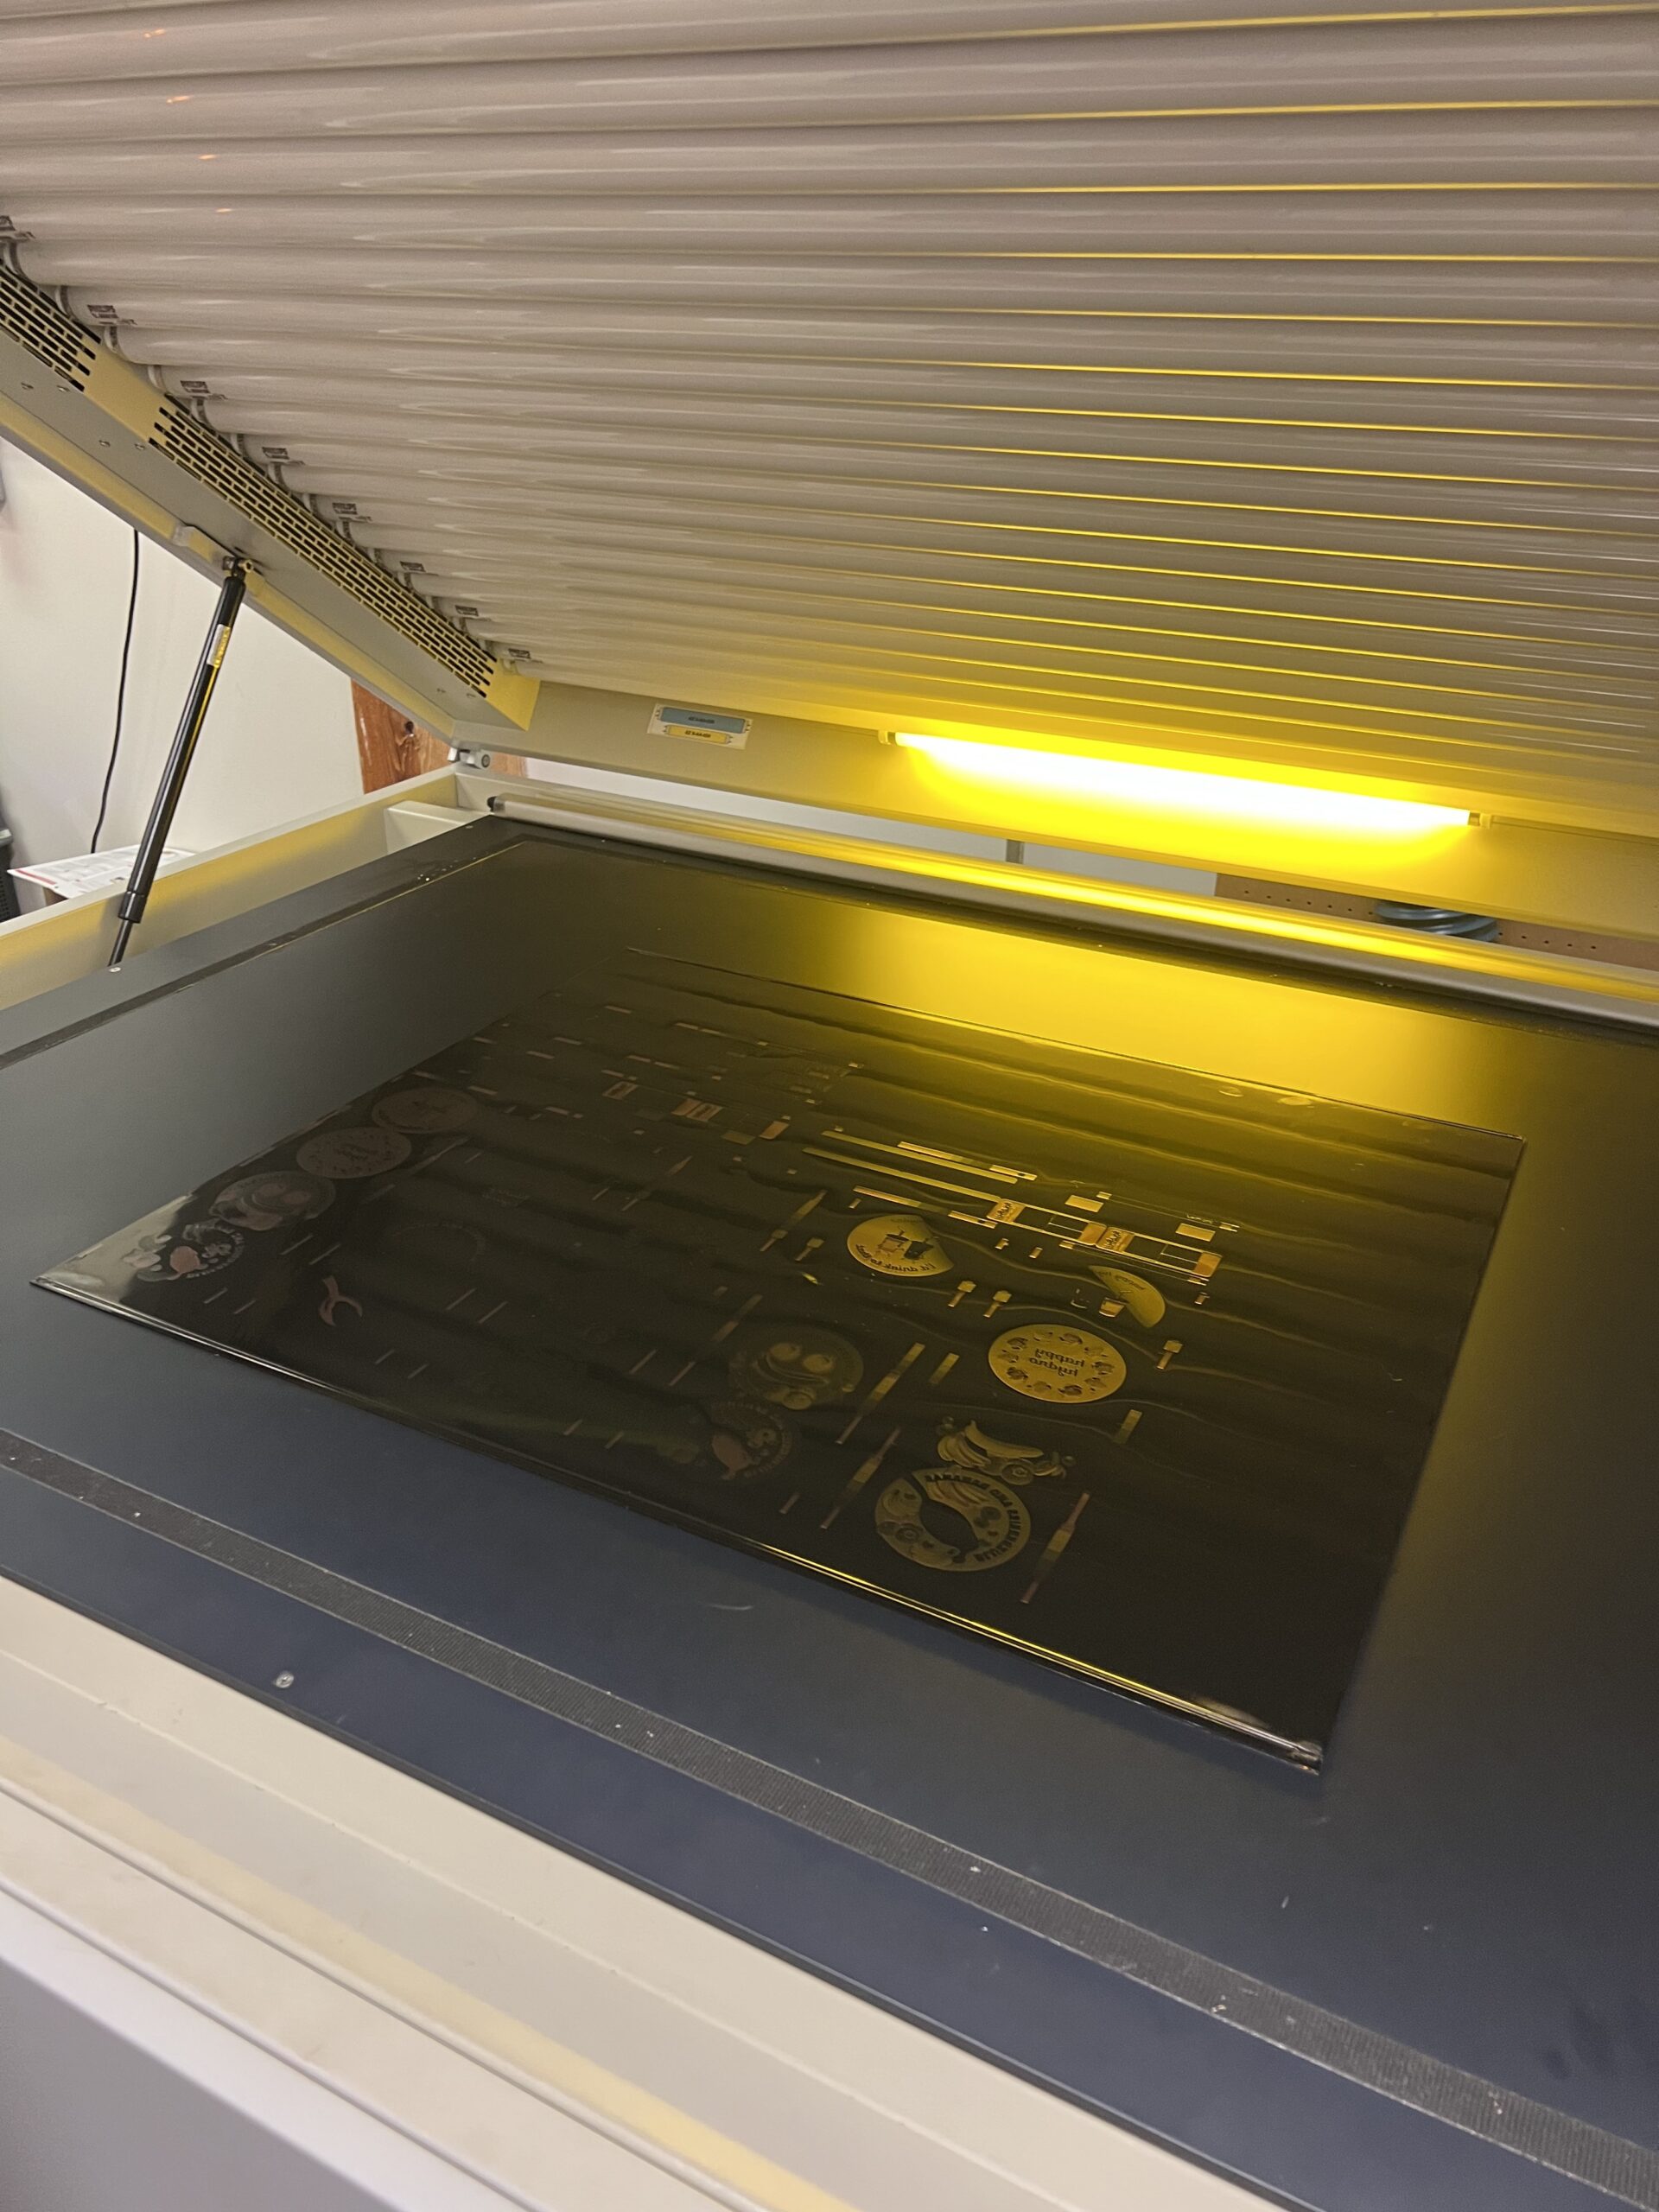
Step 5: Flip the plate face side up and face expose for 6 minutes.
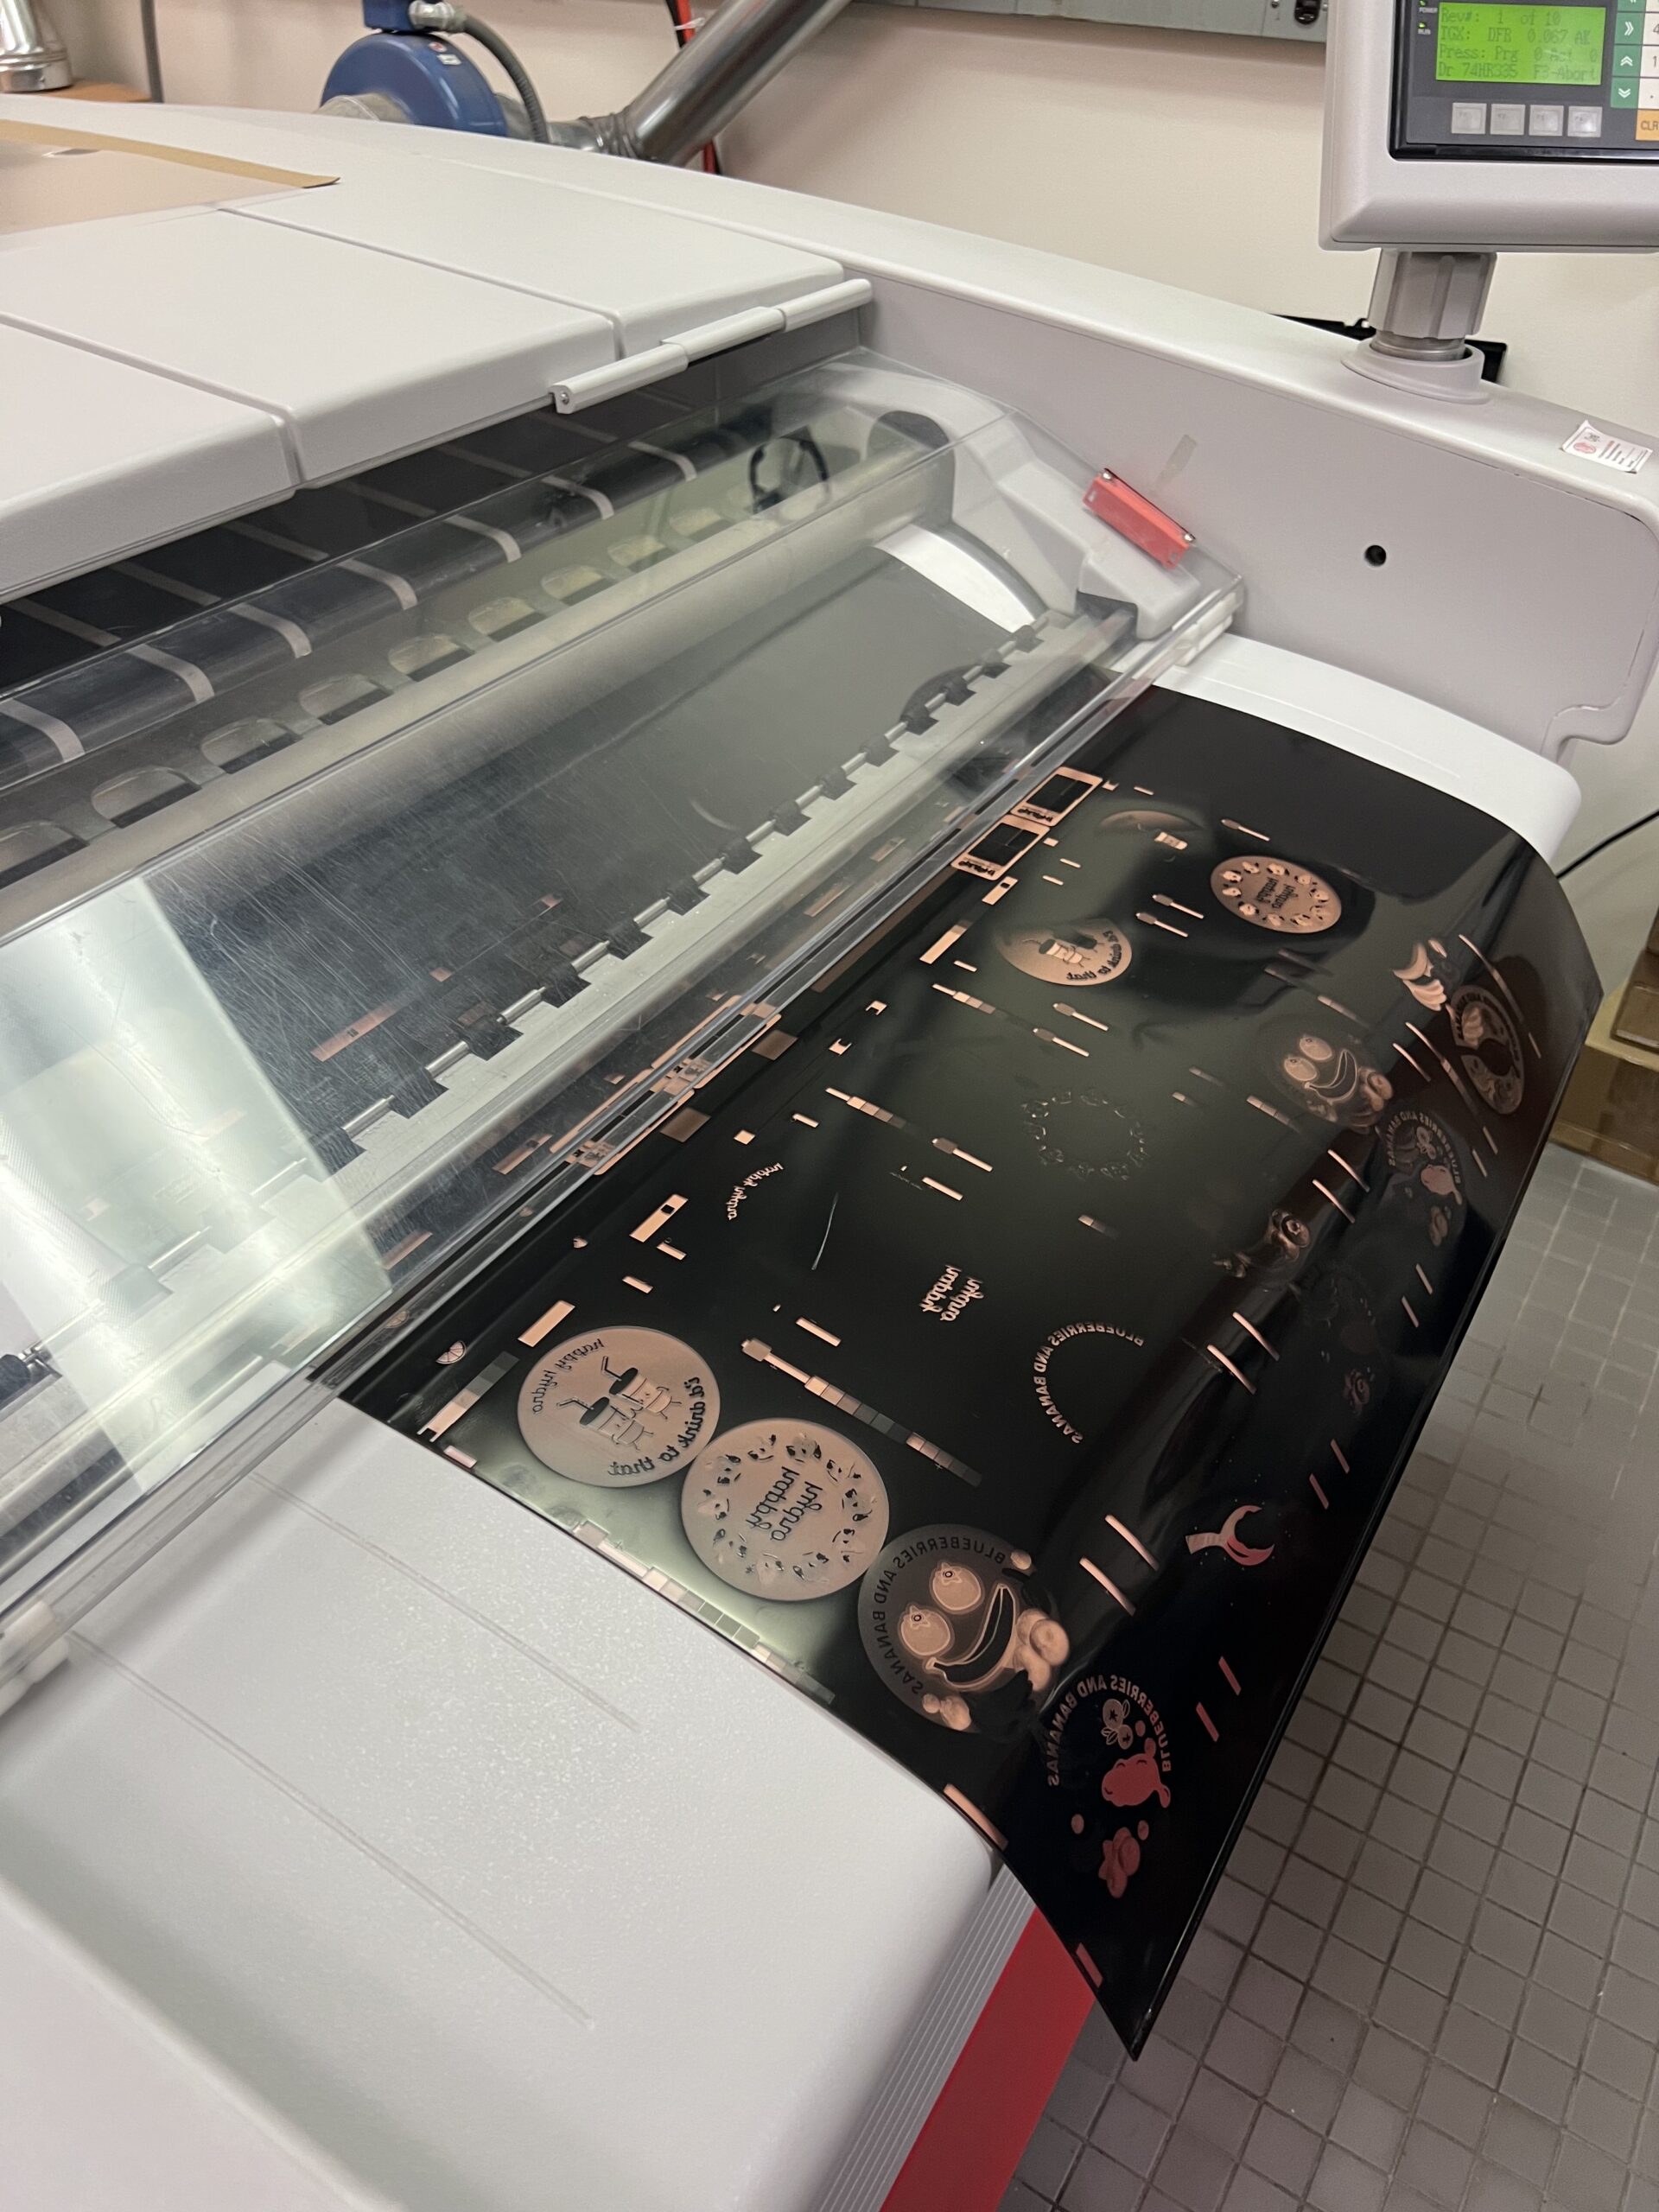
Step 6: Thermal process the plate for 12 minutes. The setting should read as DFR067, 10 revolutions, and 30 inch width. Make sure the corners of the plate are underneath the clamps.
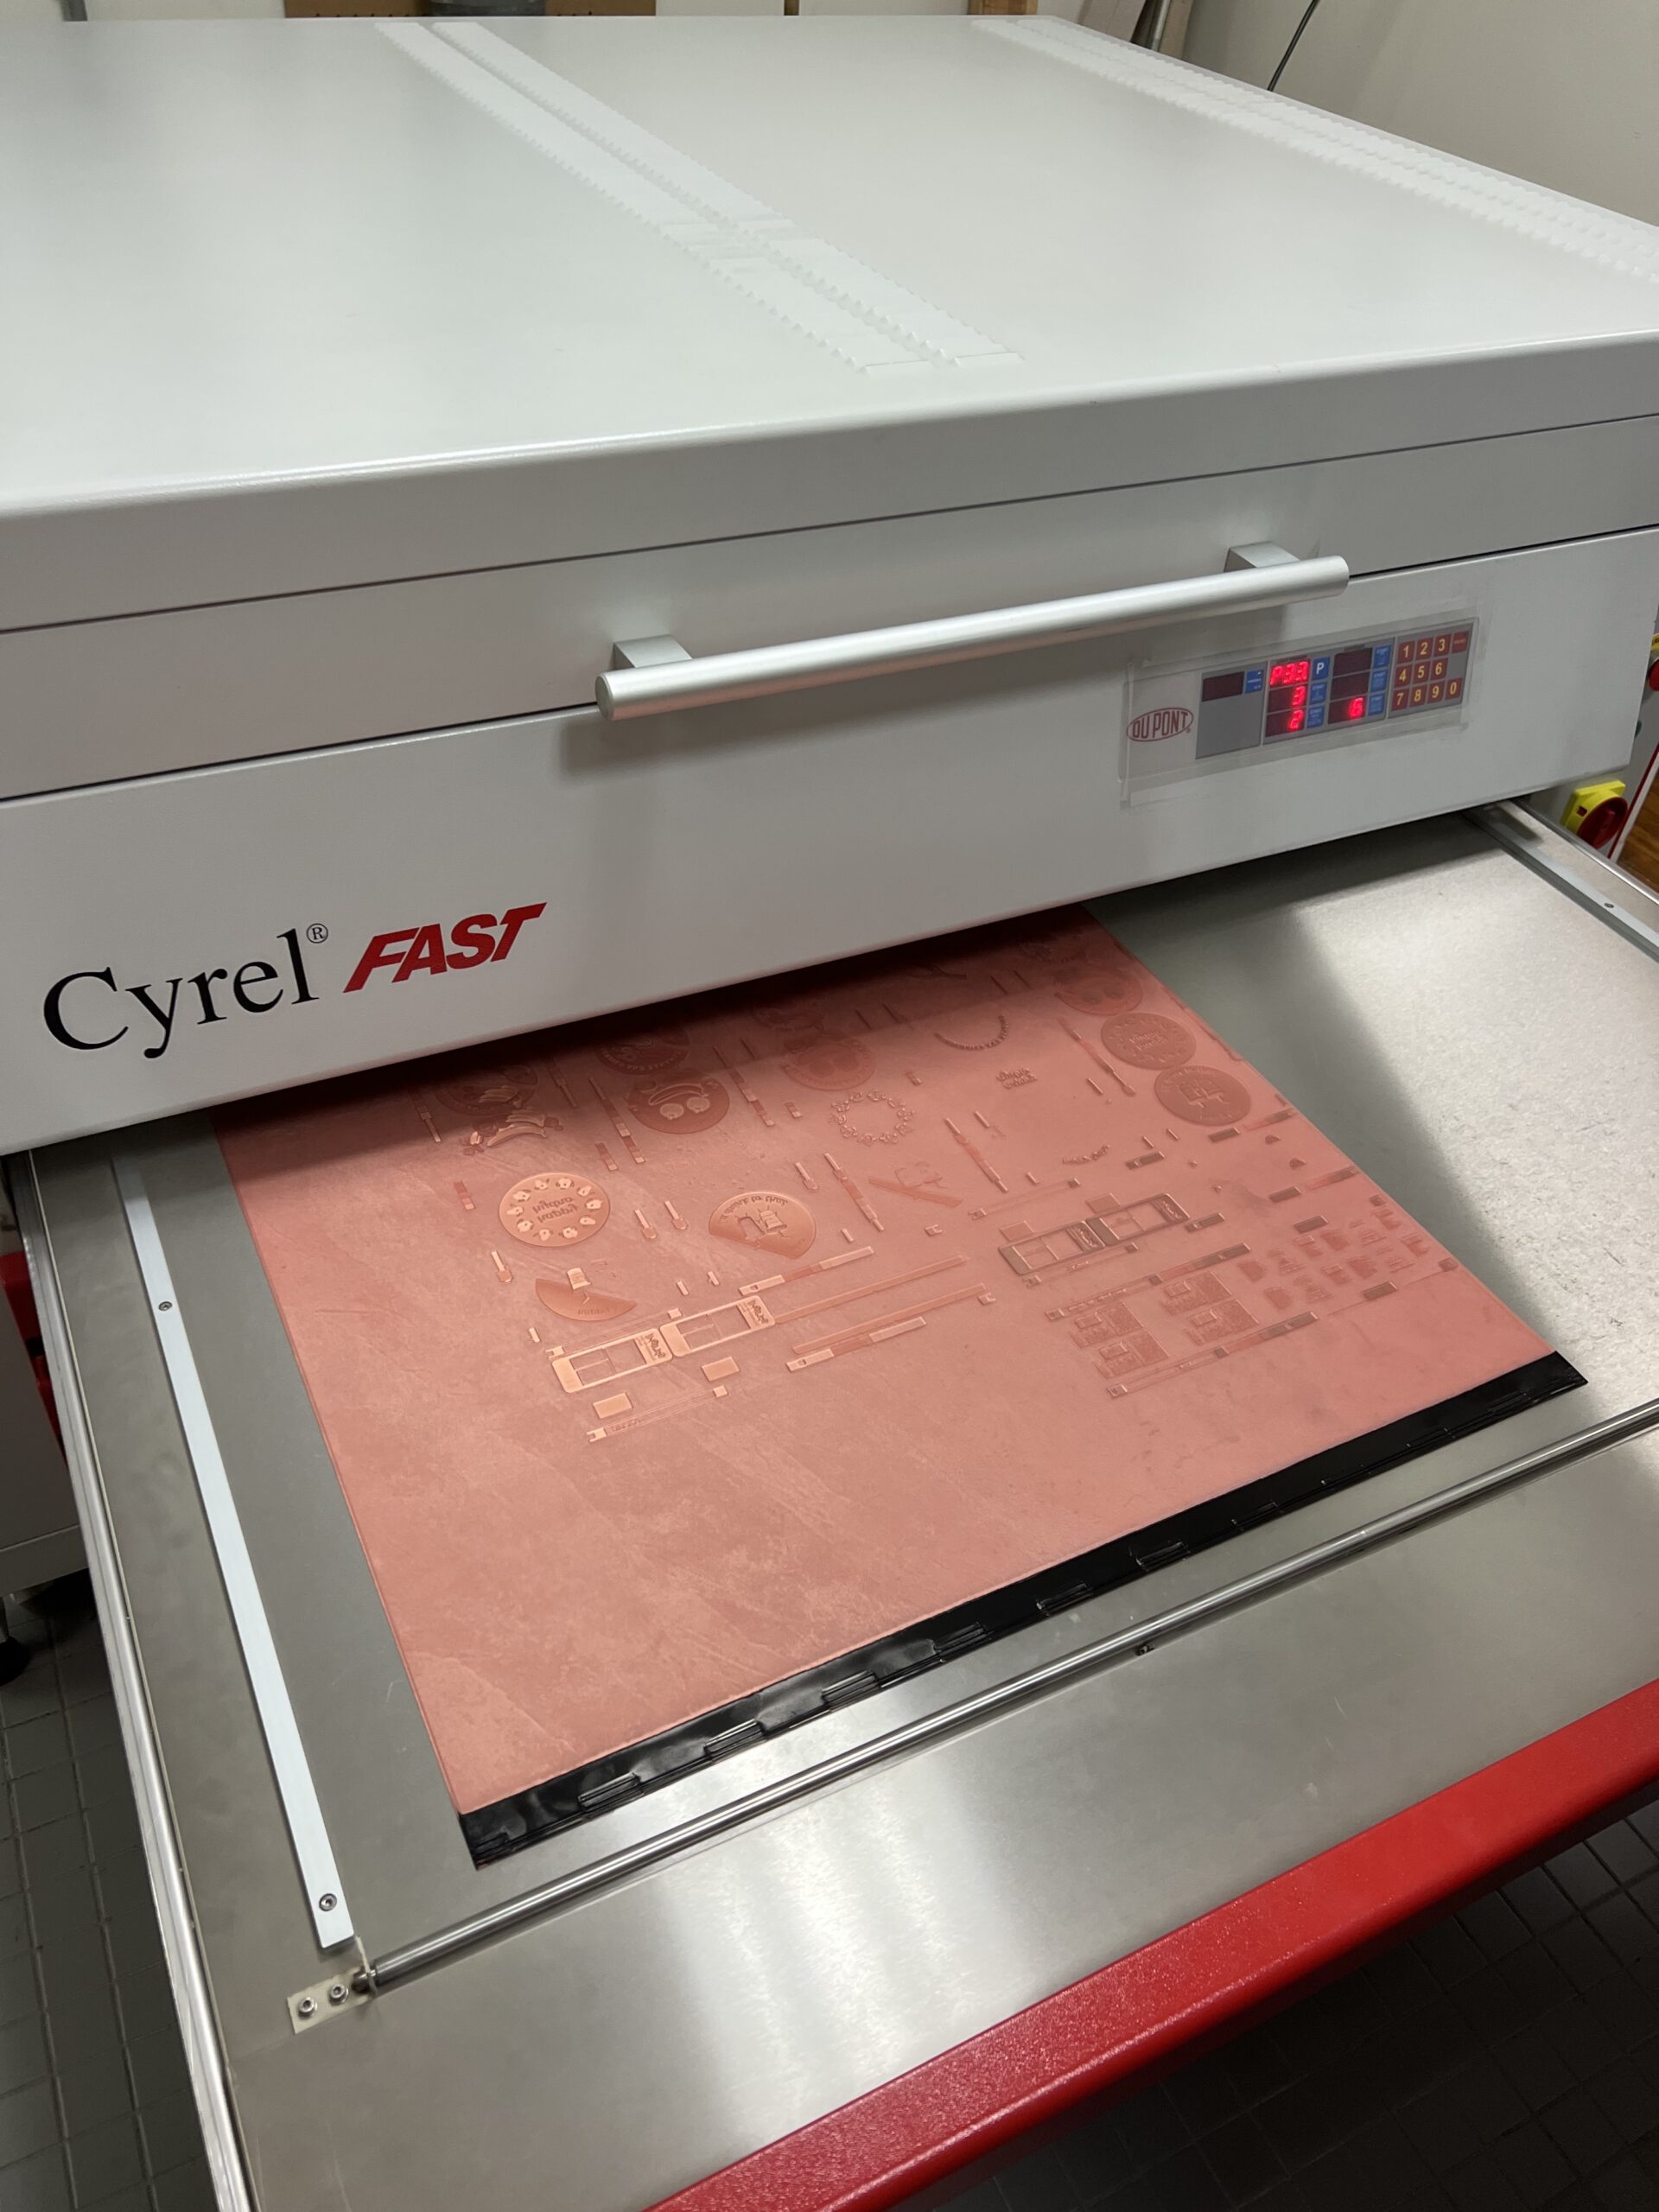
Step 7: Lay the plate in the top drawer. Post expose the plate for 3 minutes, and detack the plate for 1 minute.
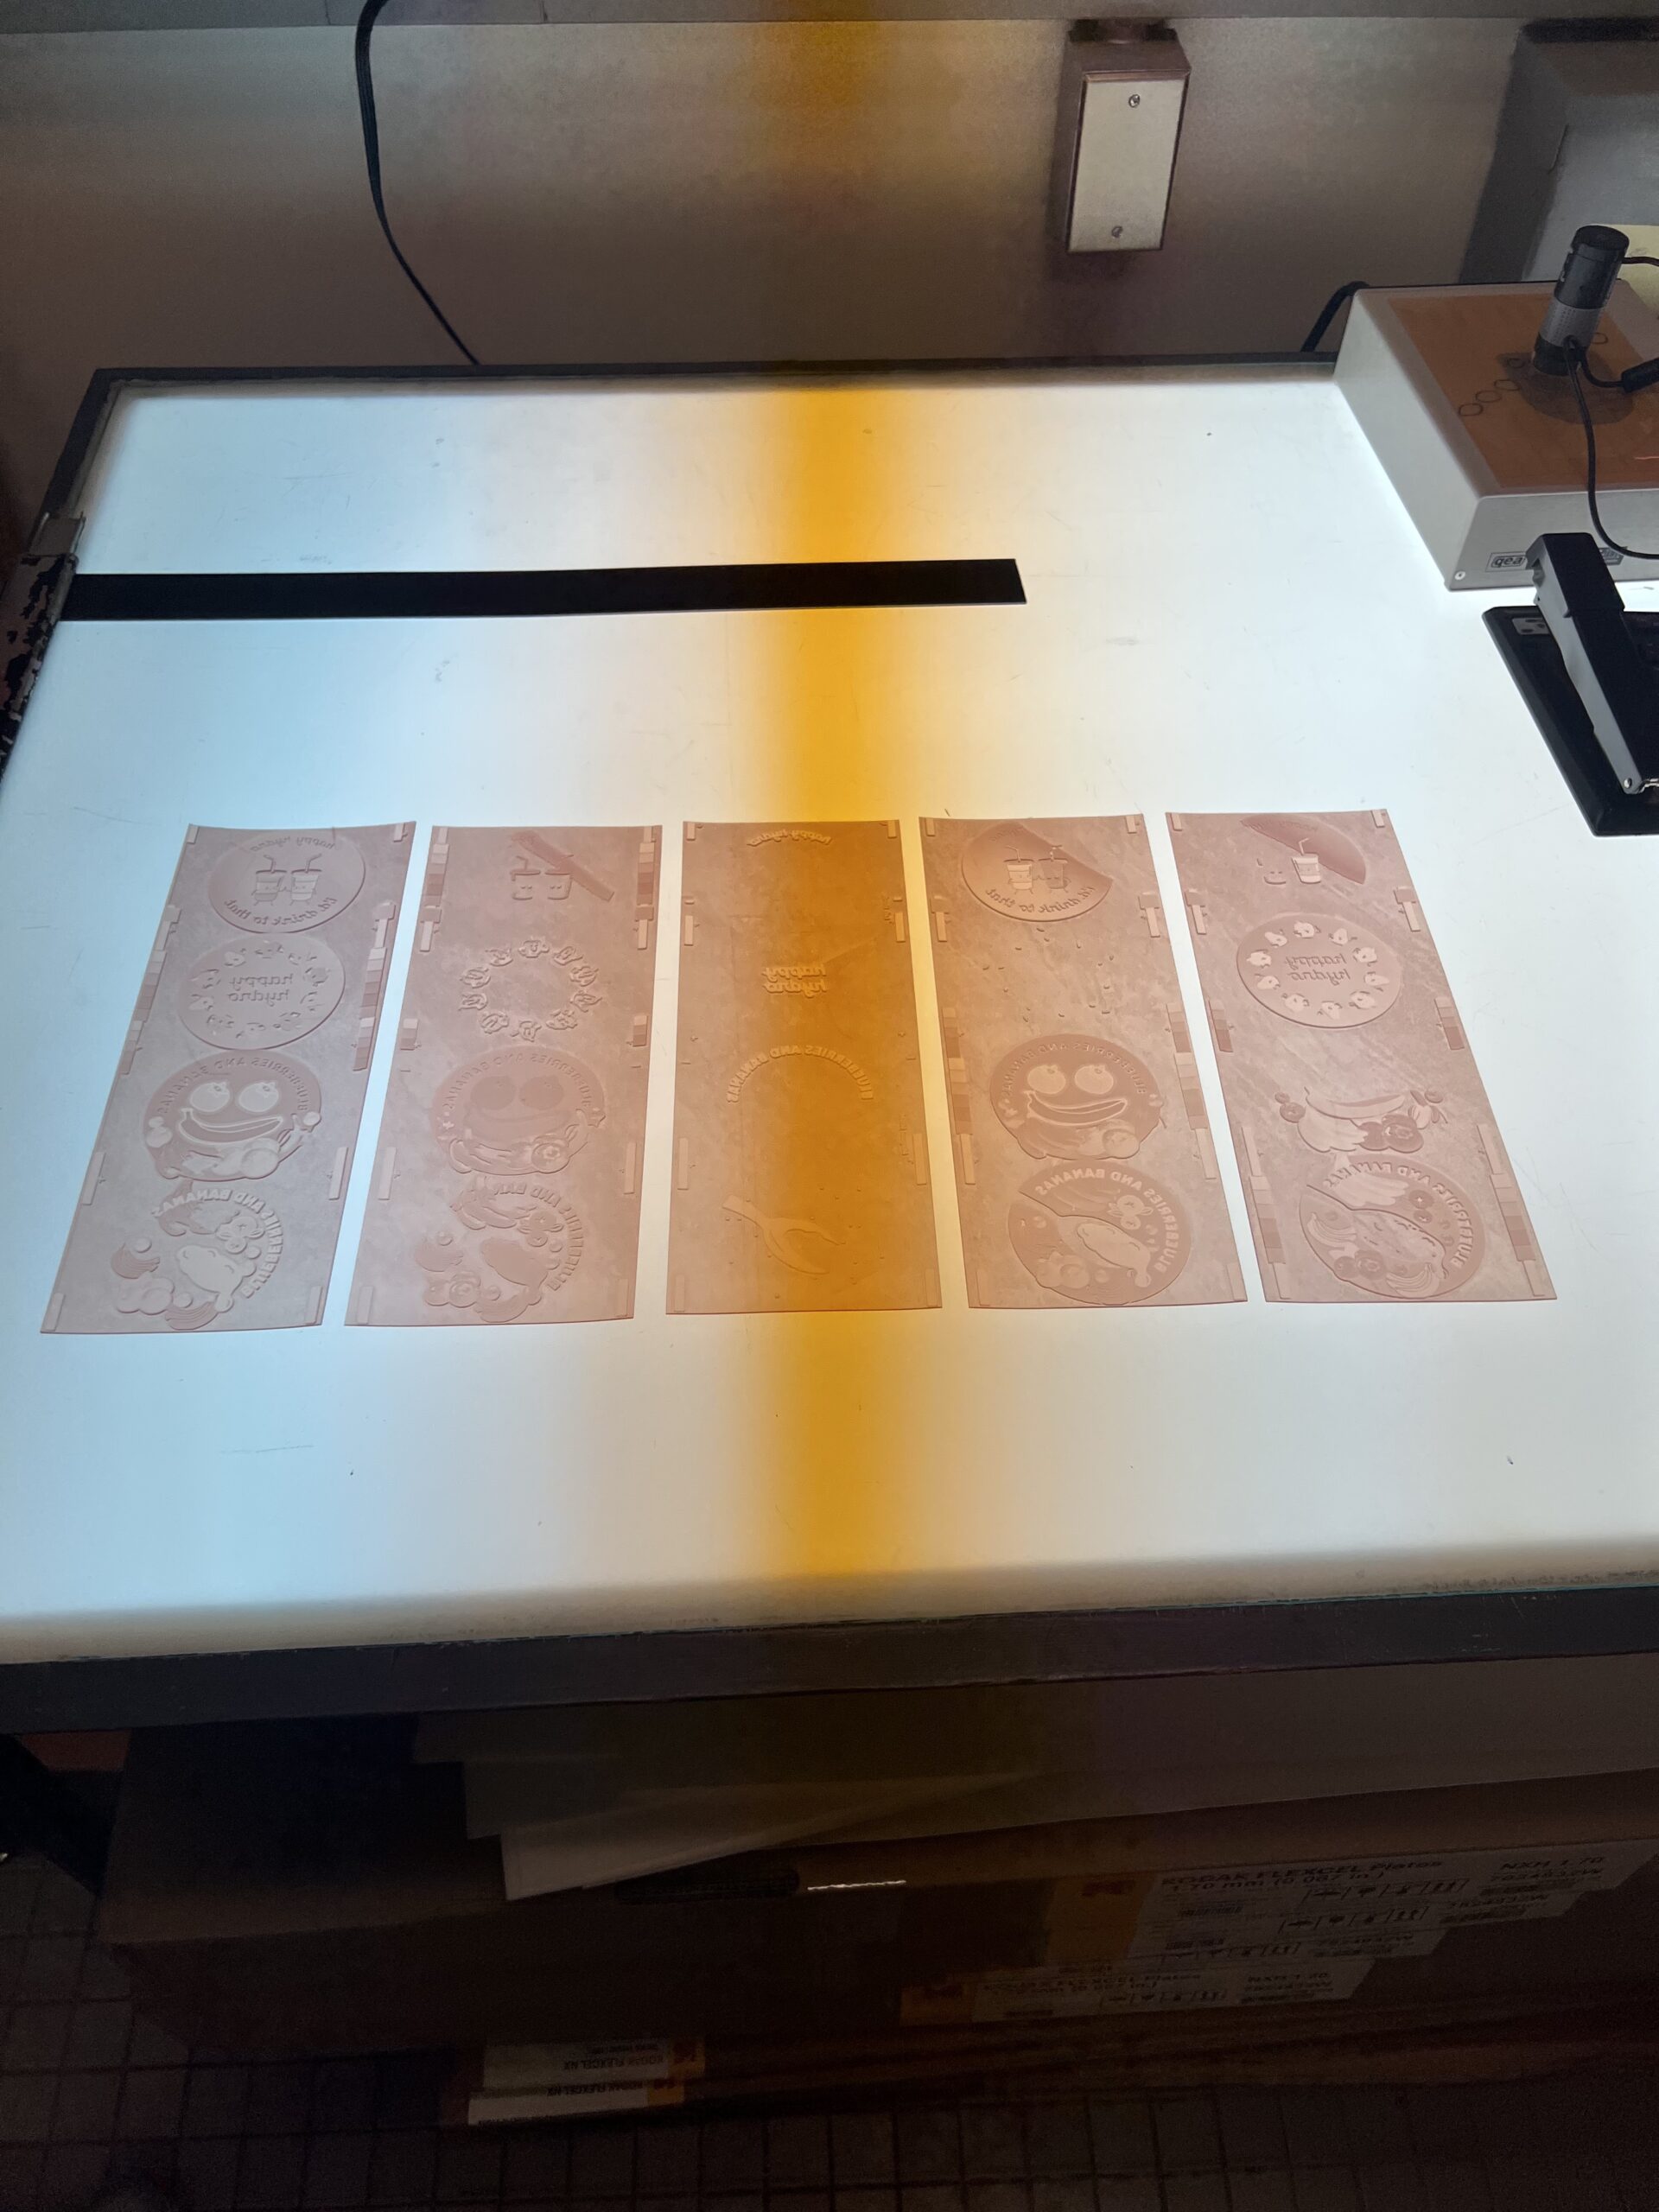
Step 8: Cut the plate and discard excess material.
Plate Mounting
Equipment used
- Semi auto FTS range table plate mounter by JM Heaford
- Sticky back
- DuPont Cyrel 067 Mils Photopolymer Plate
- Plate cylinder
- Plate cylinder sleeve
Steps to Platemaking

Step 1: Turn on air and slide the plate sleeve on the plate cylinder.
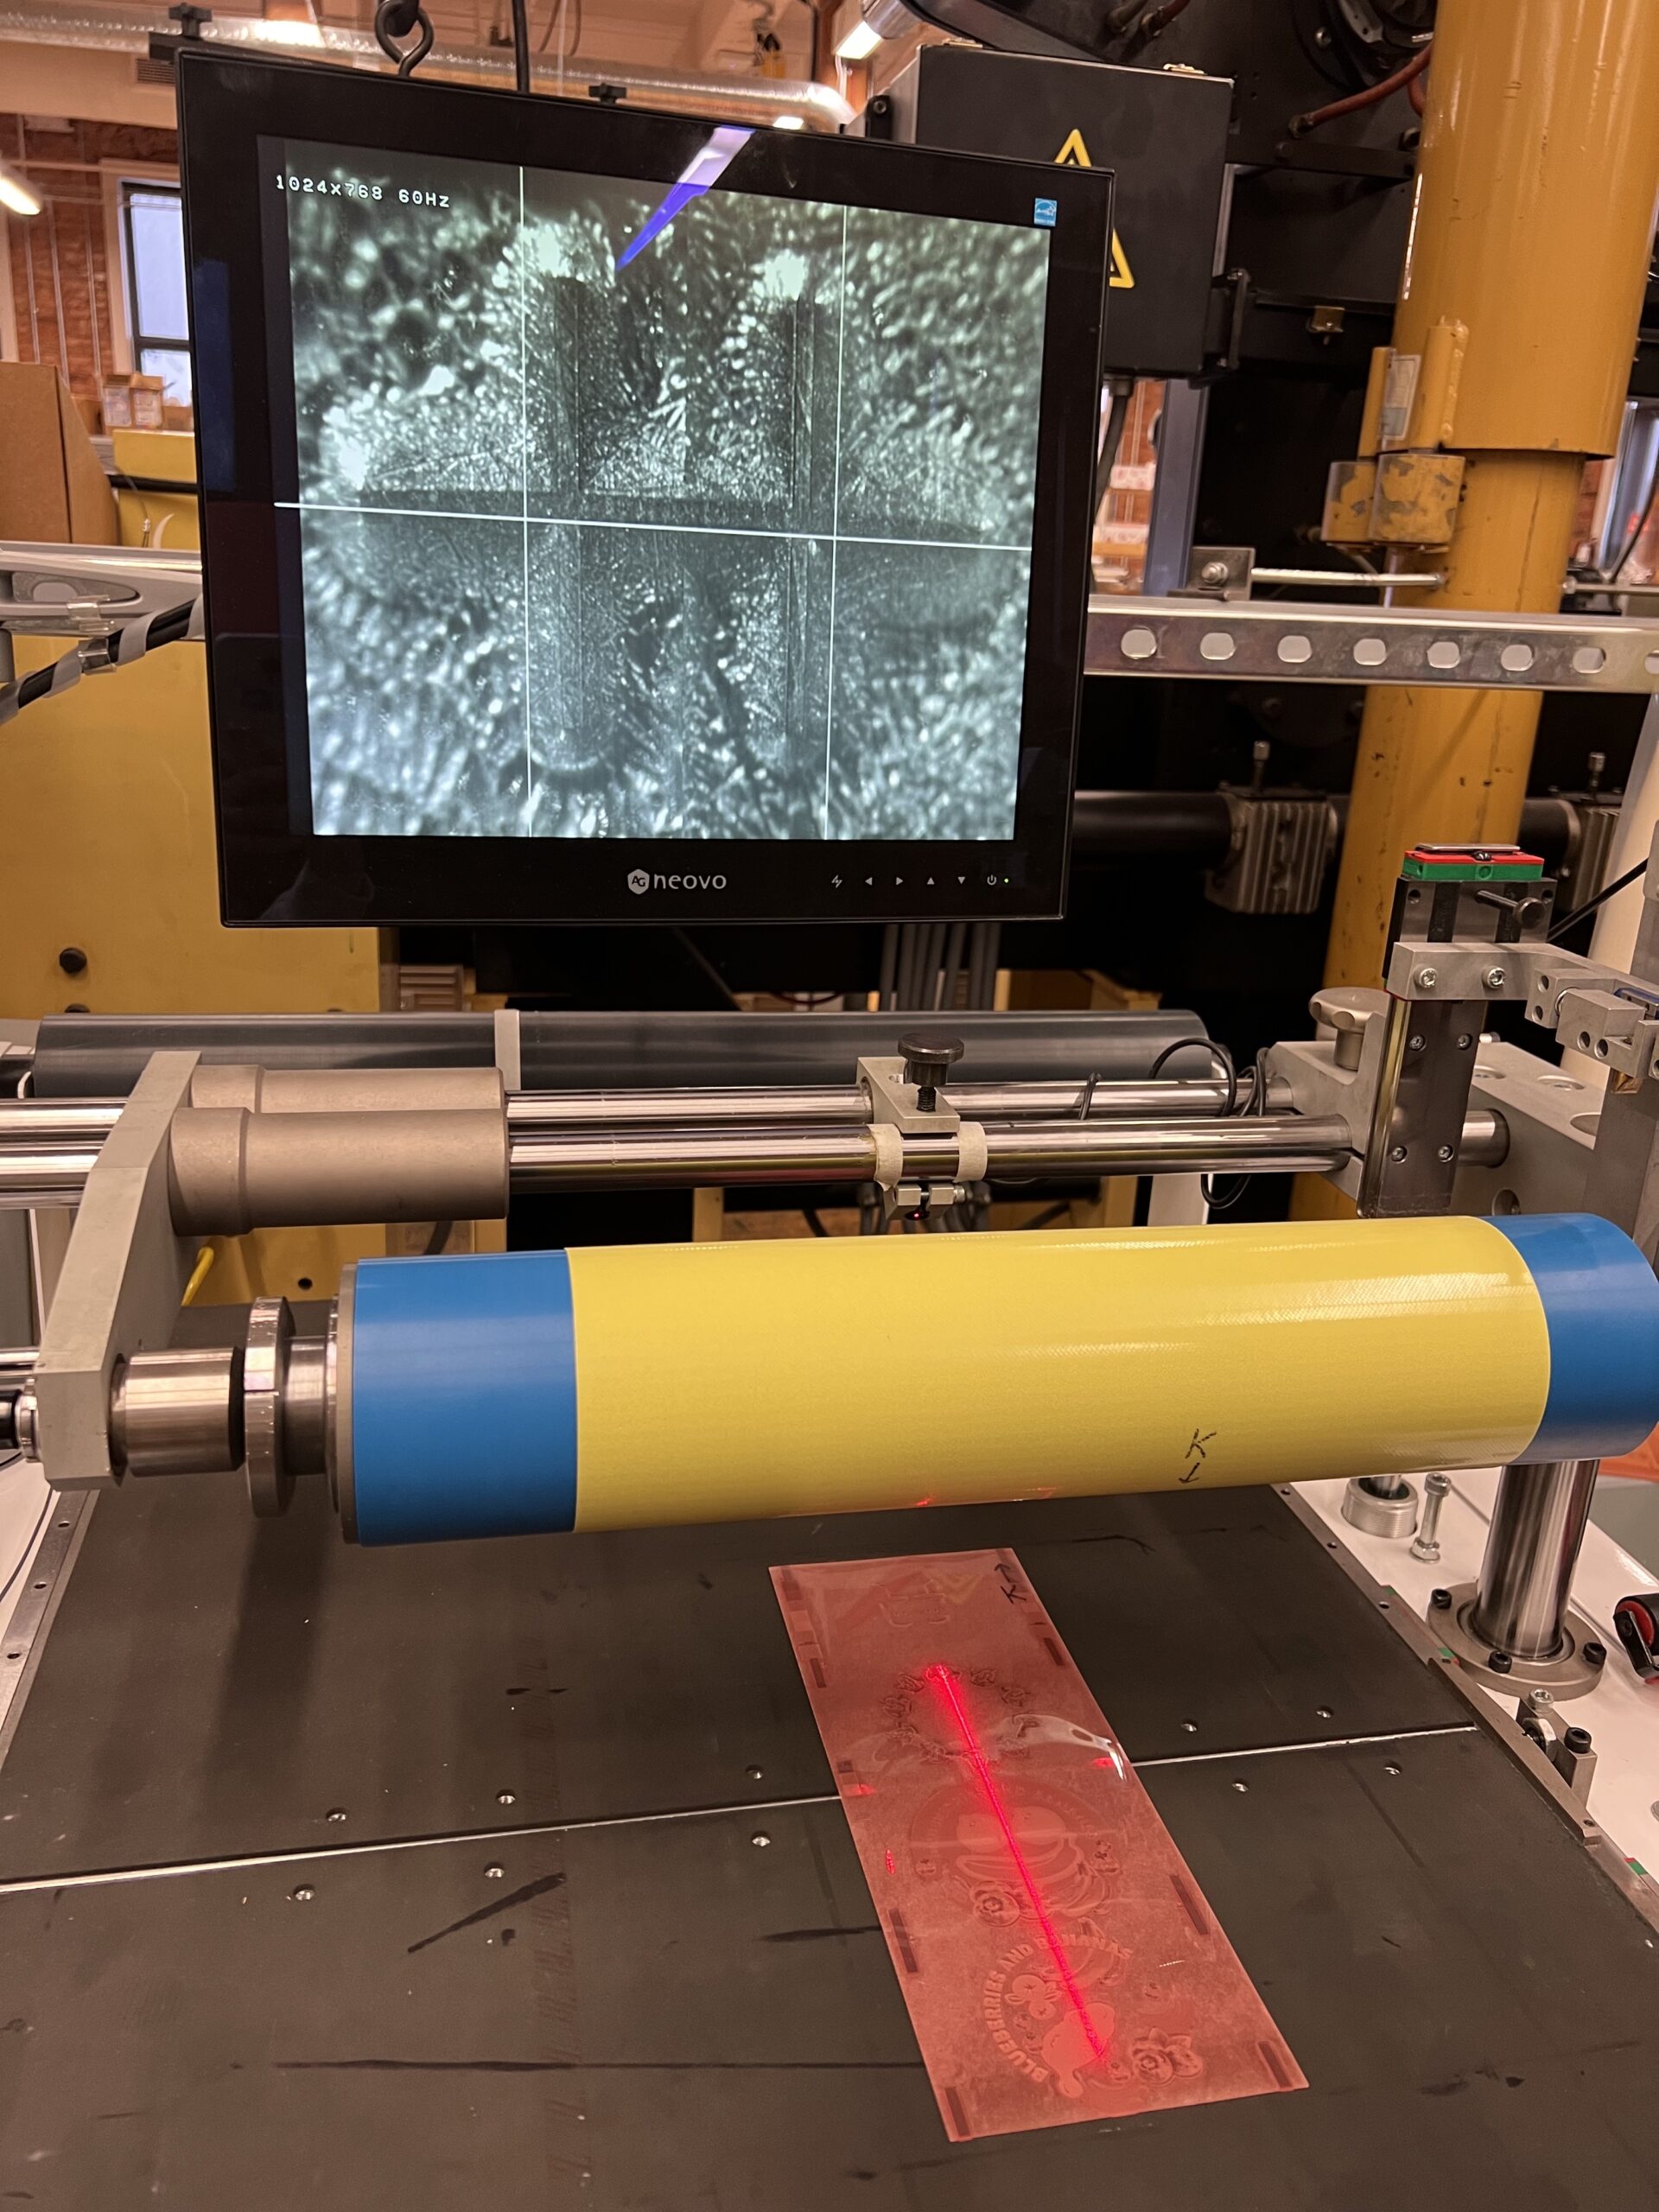
Step 2: Set the plate face down on the table. Measure the plate to find the center. Use the cameras to find the registration marks, and align both while looking at the screen.
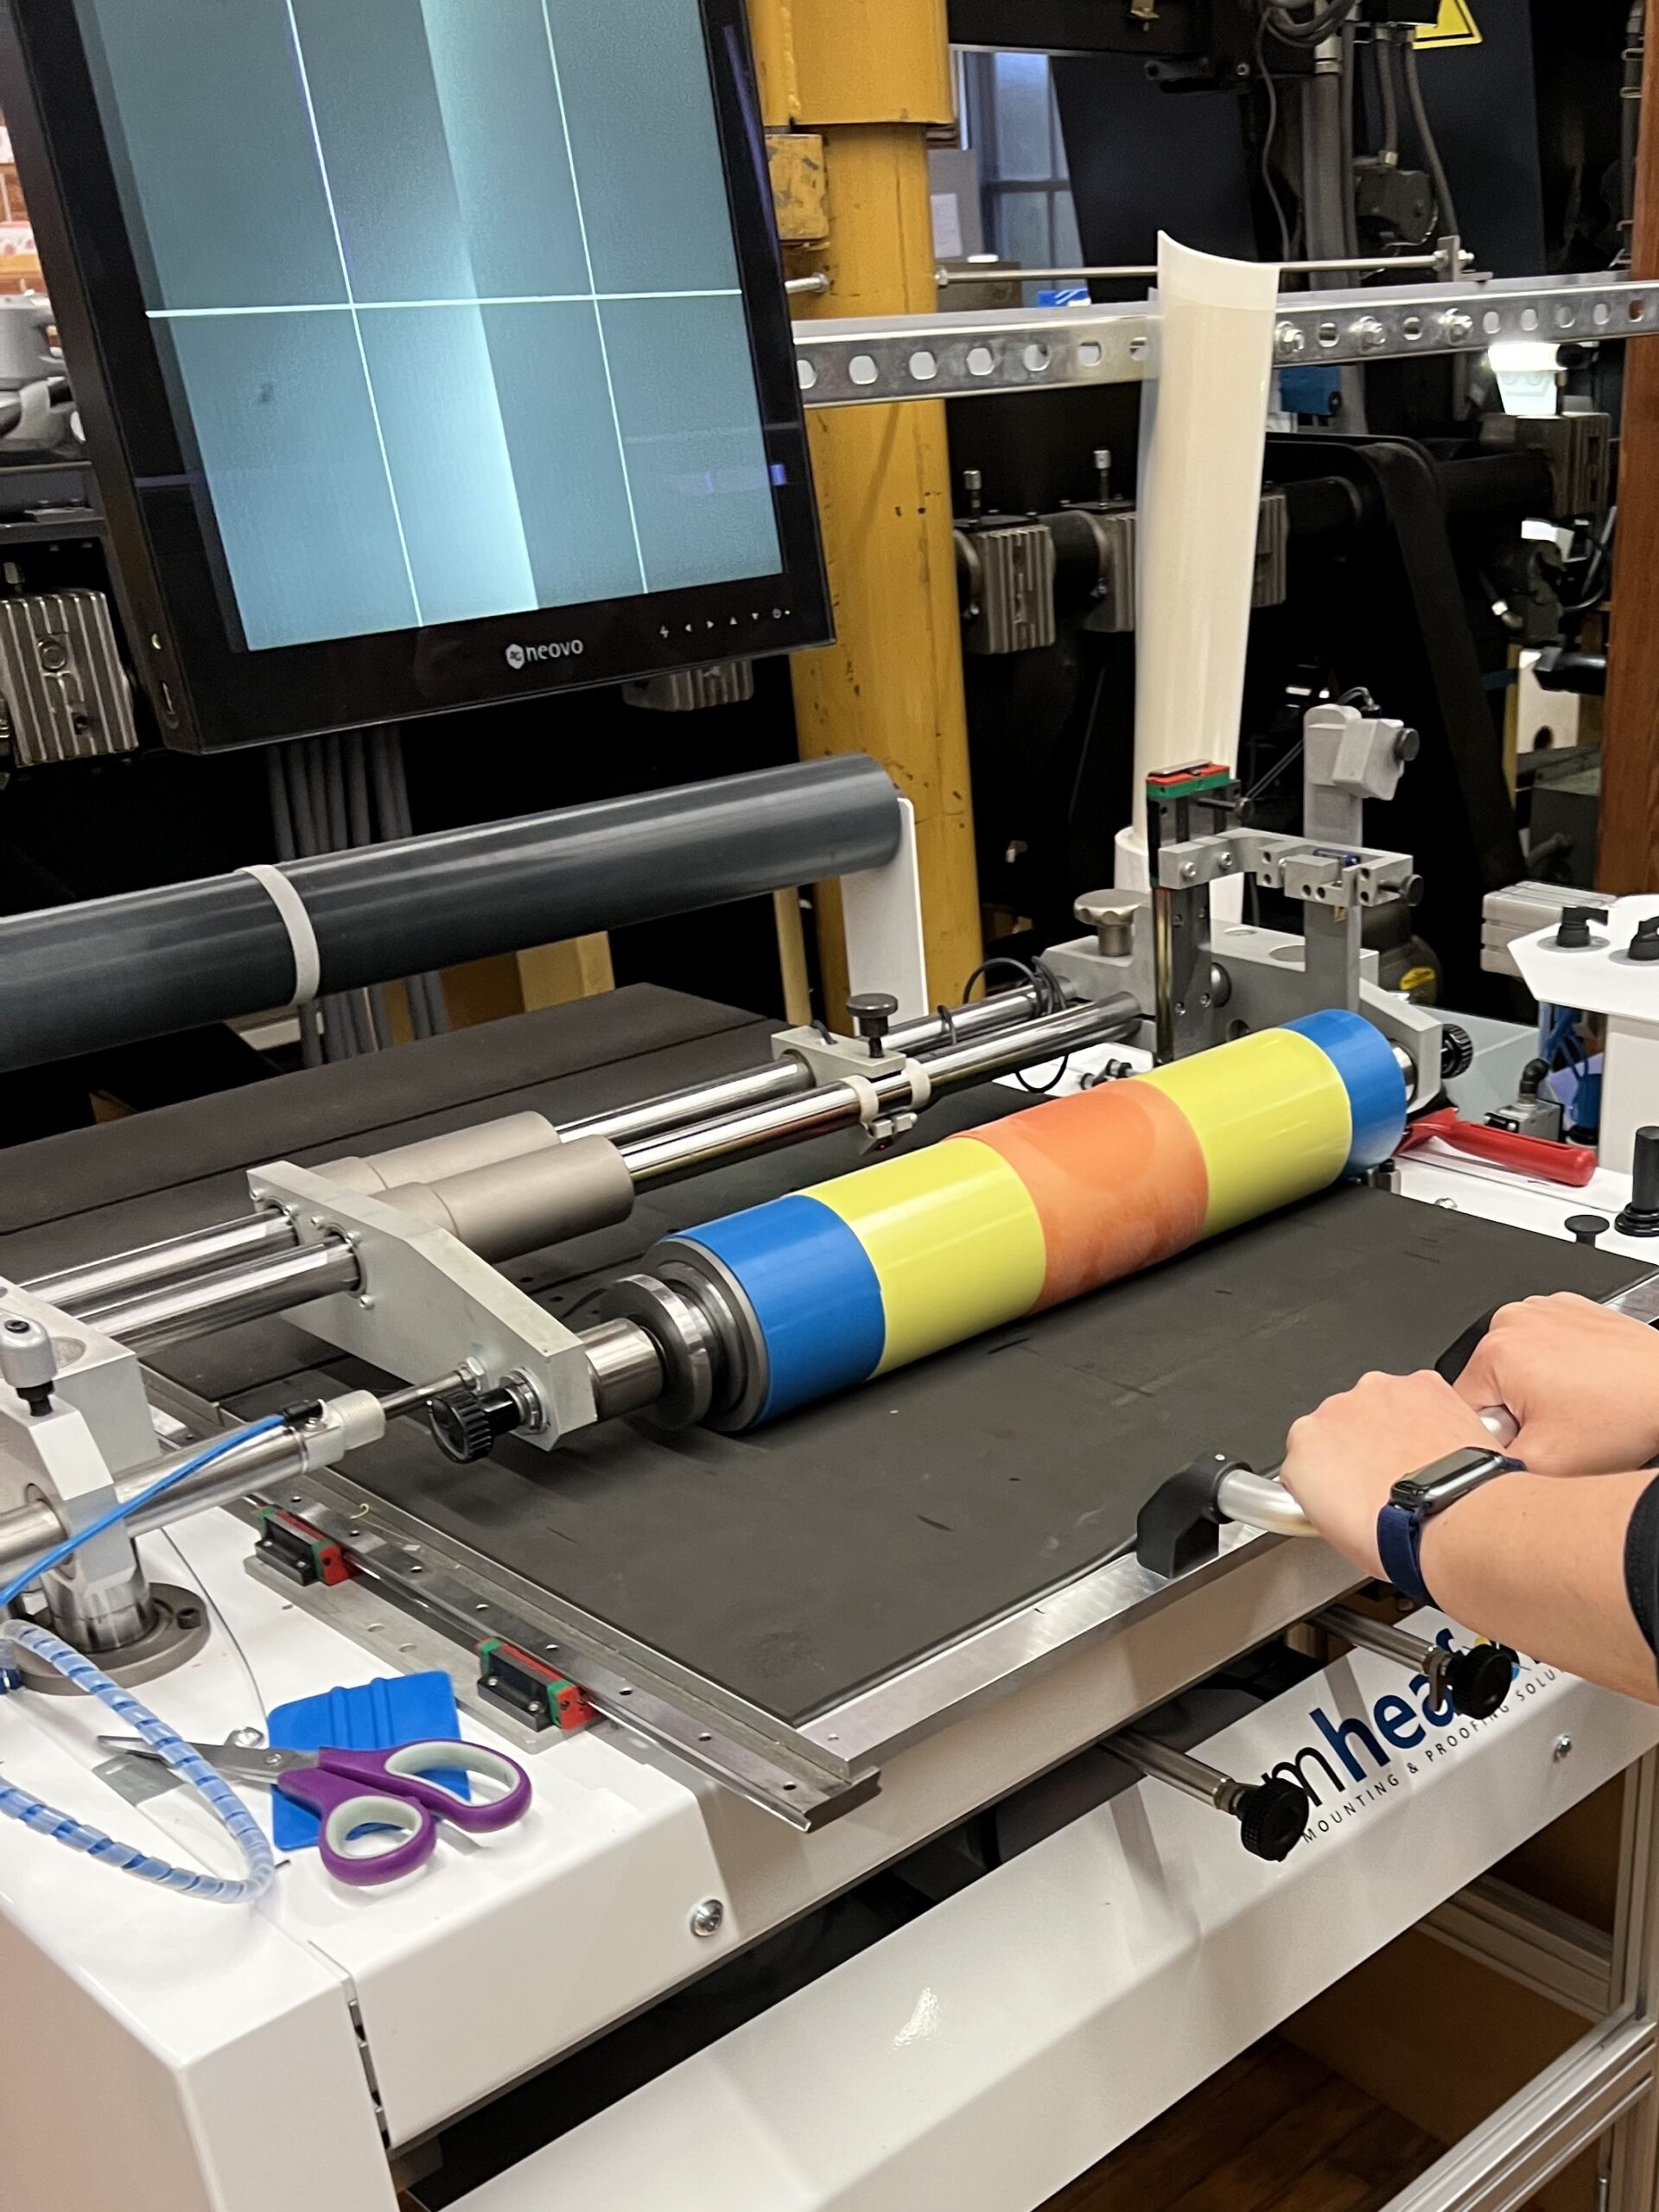
Step 3: Attach the plate to the sleeve by moving the plate cylinder down, and pulling the table to fully roll plate around the sleeve.
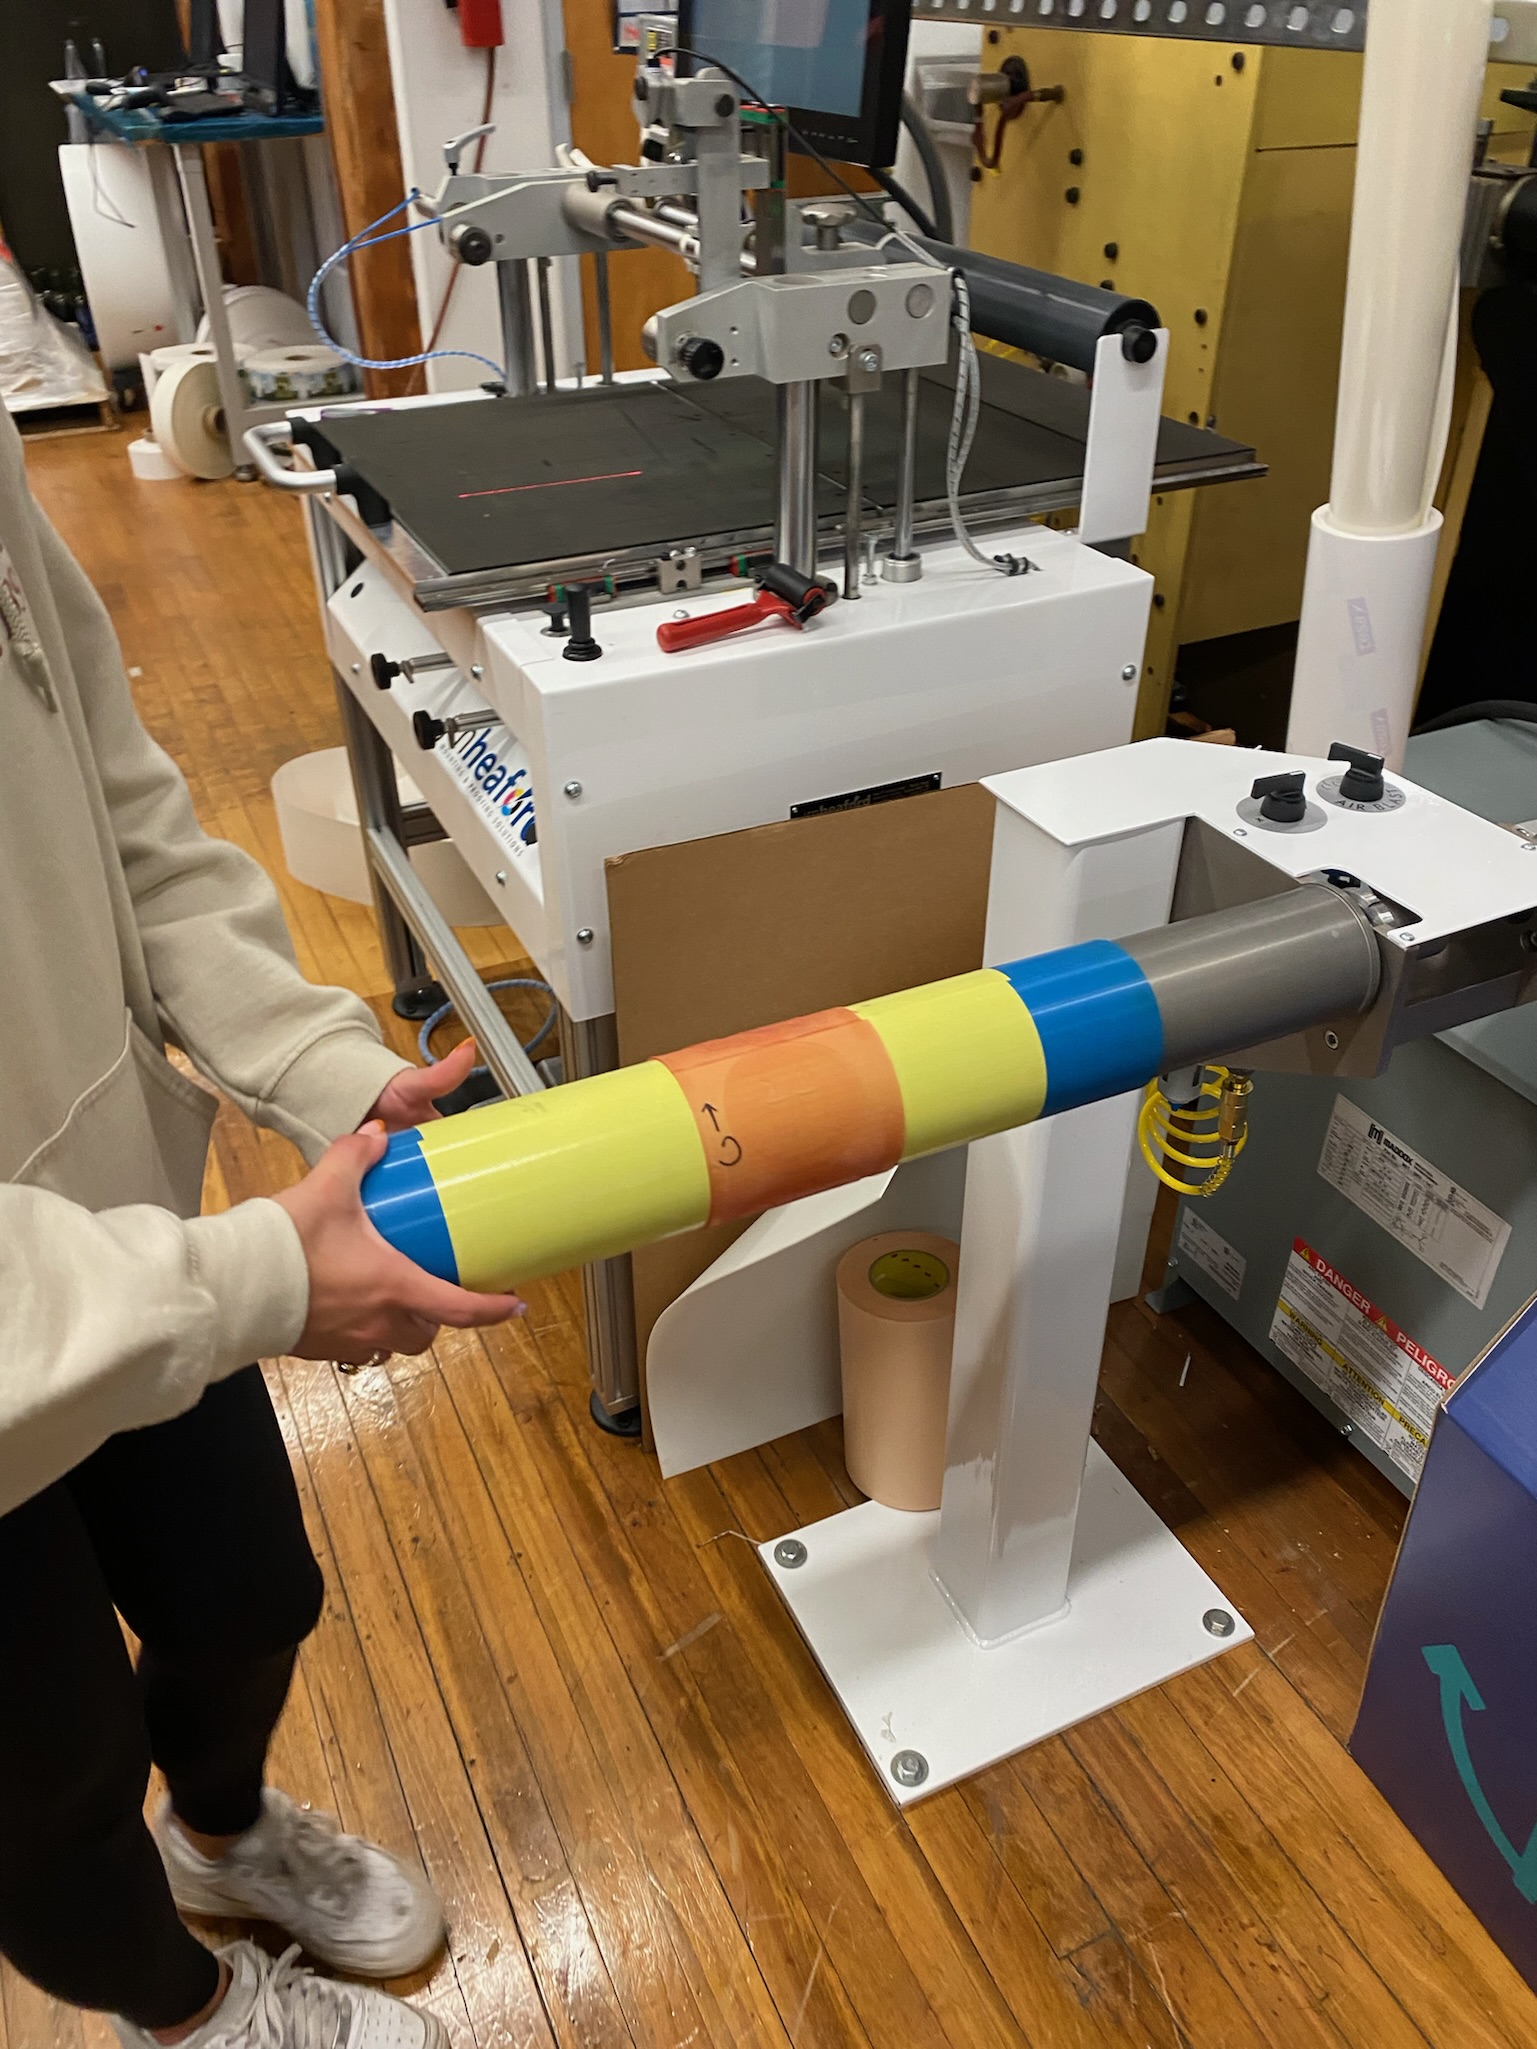
Step 4: Dismount the plate sleeve from the plate cylinder. Repeat for all plates remaining.
Press Work
Equipment used
- Nilpeter
- Substrate (1.7 Mil Glassine paper)
- CMYK inks
- SIlver Foil
Steps to Setup Nilpeter & Print
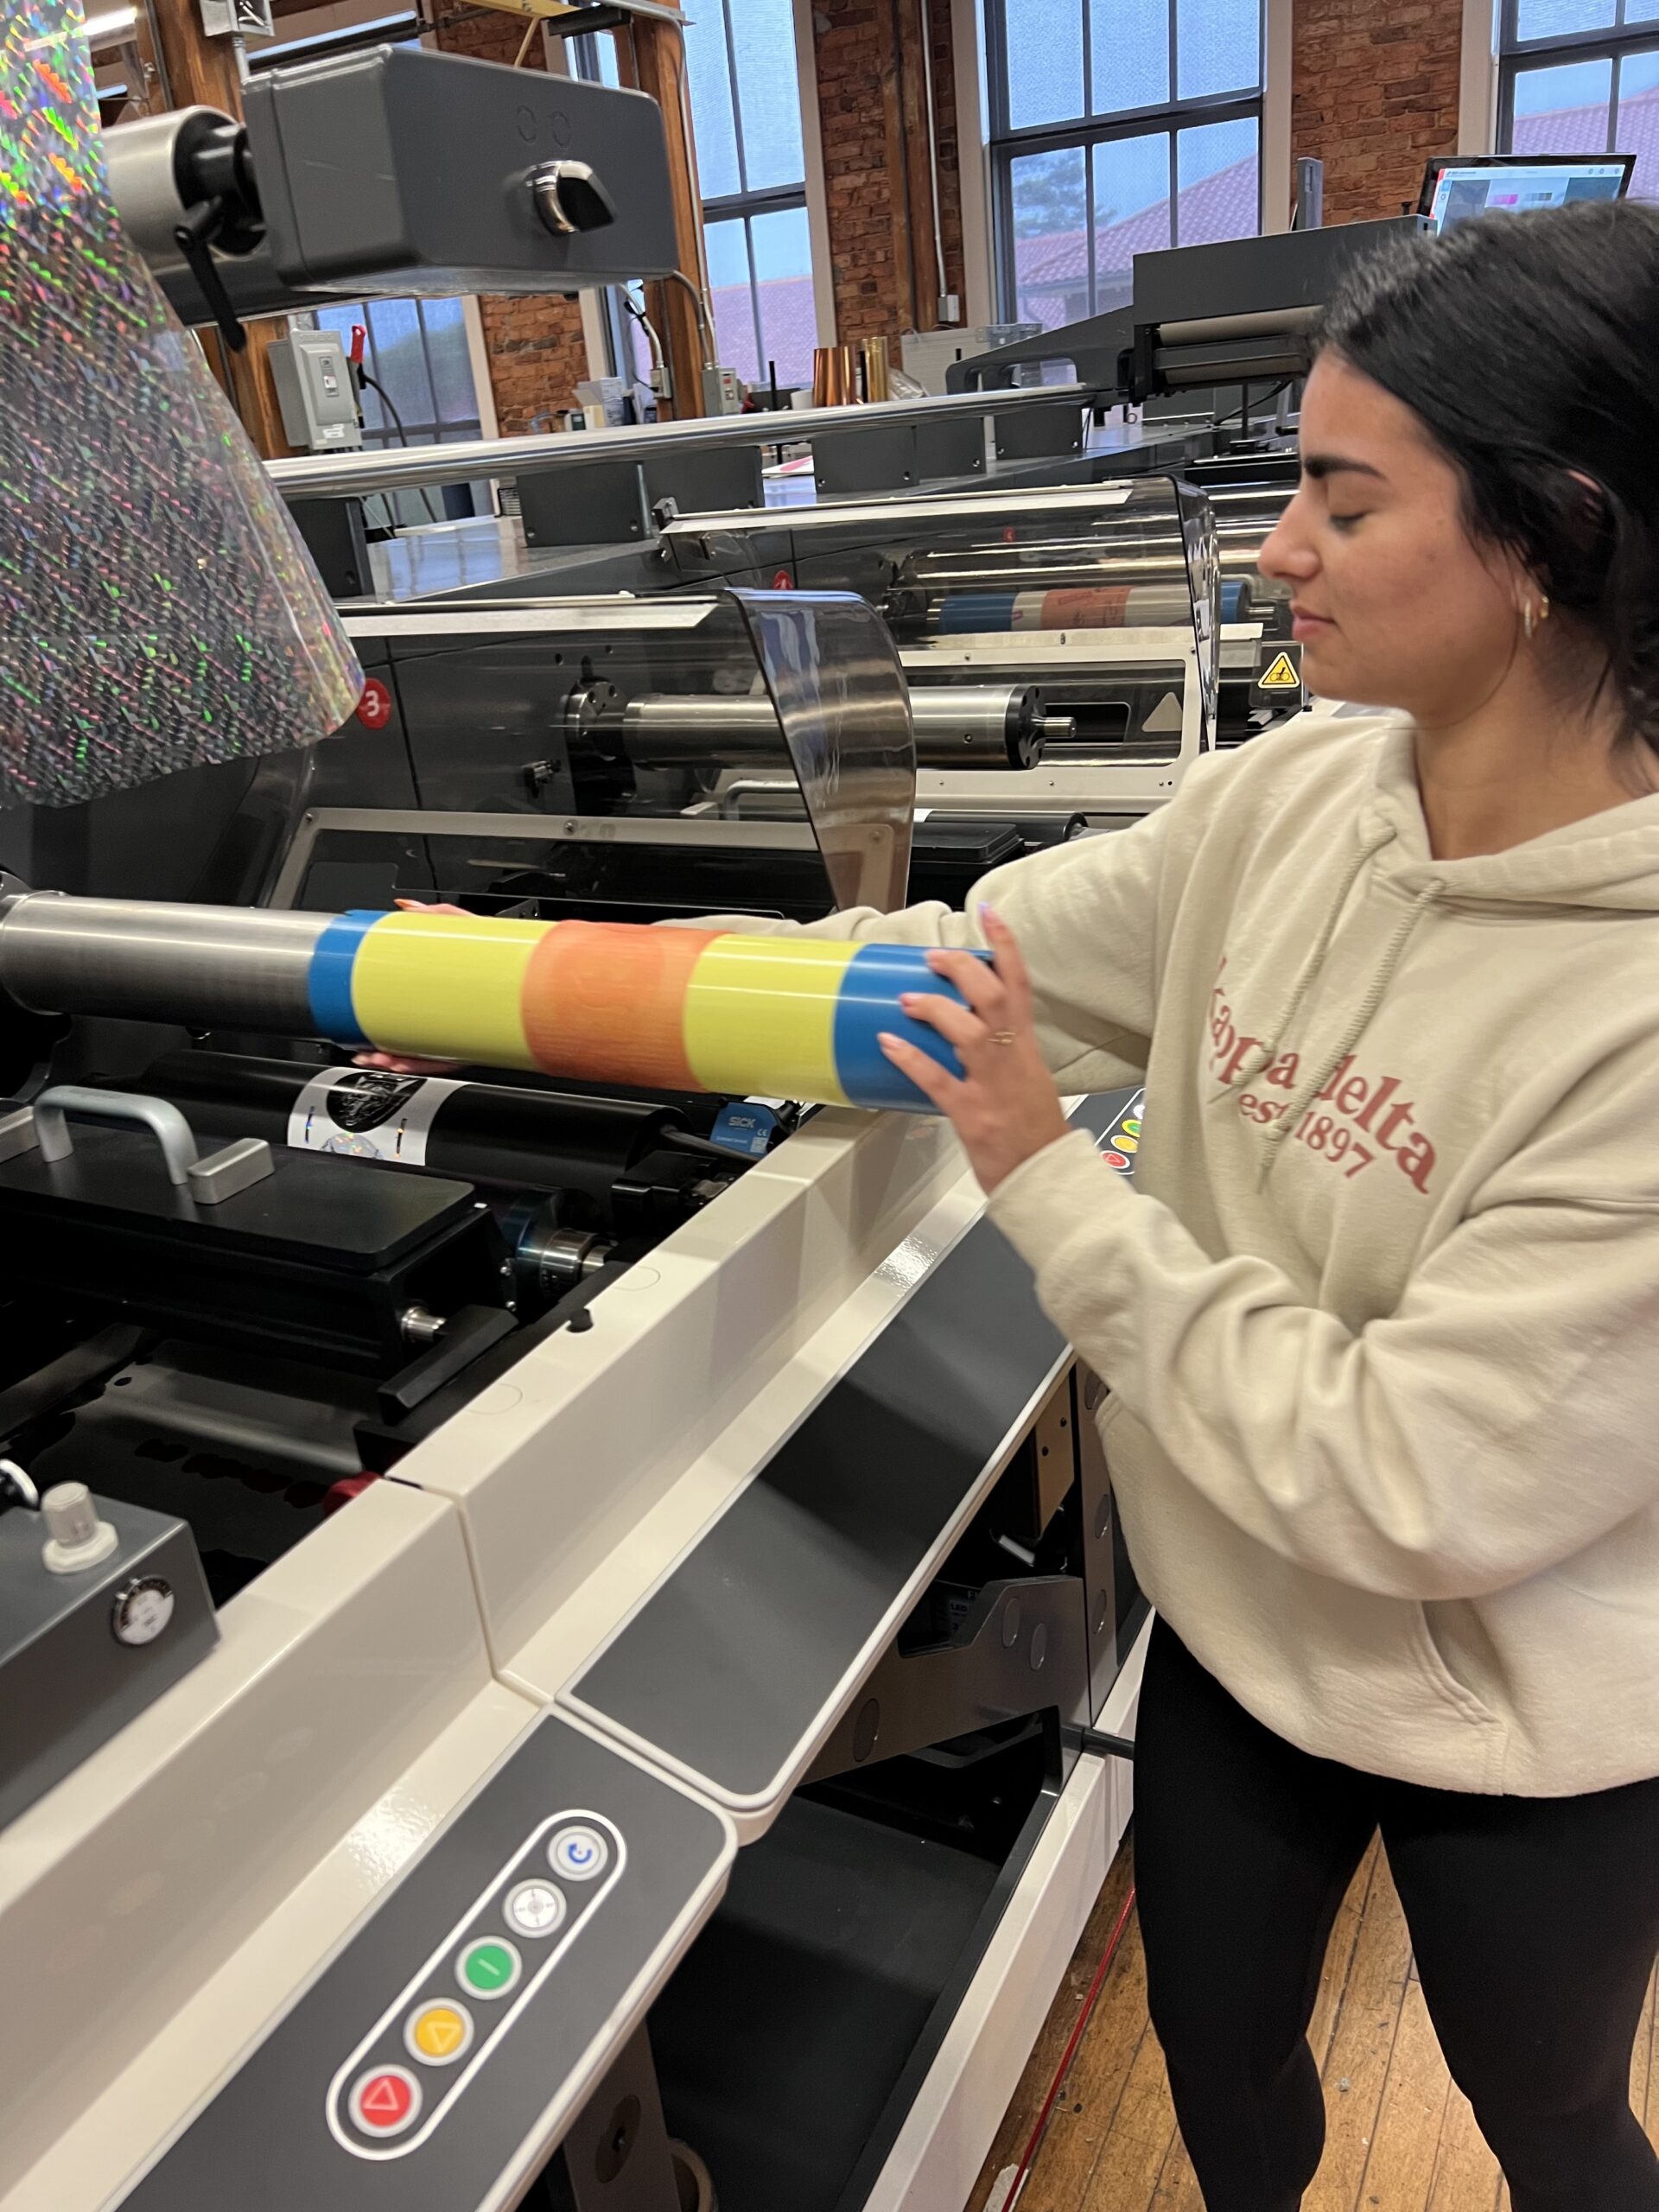
Step 1: Turn on air and mount the sleeve onto the plate cylinder. The order of the stations should be set up as follows: K foil CMY.
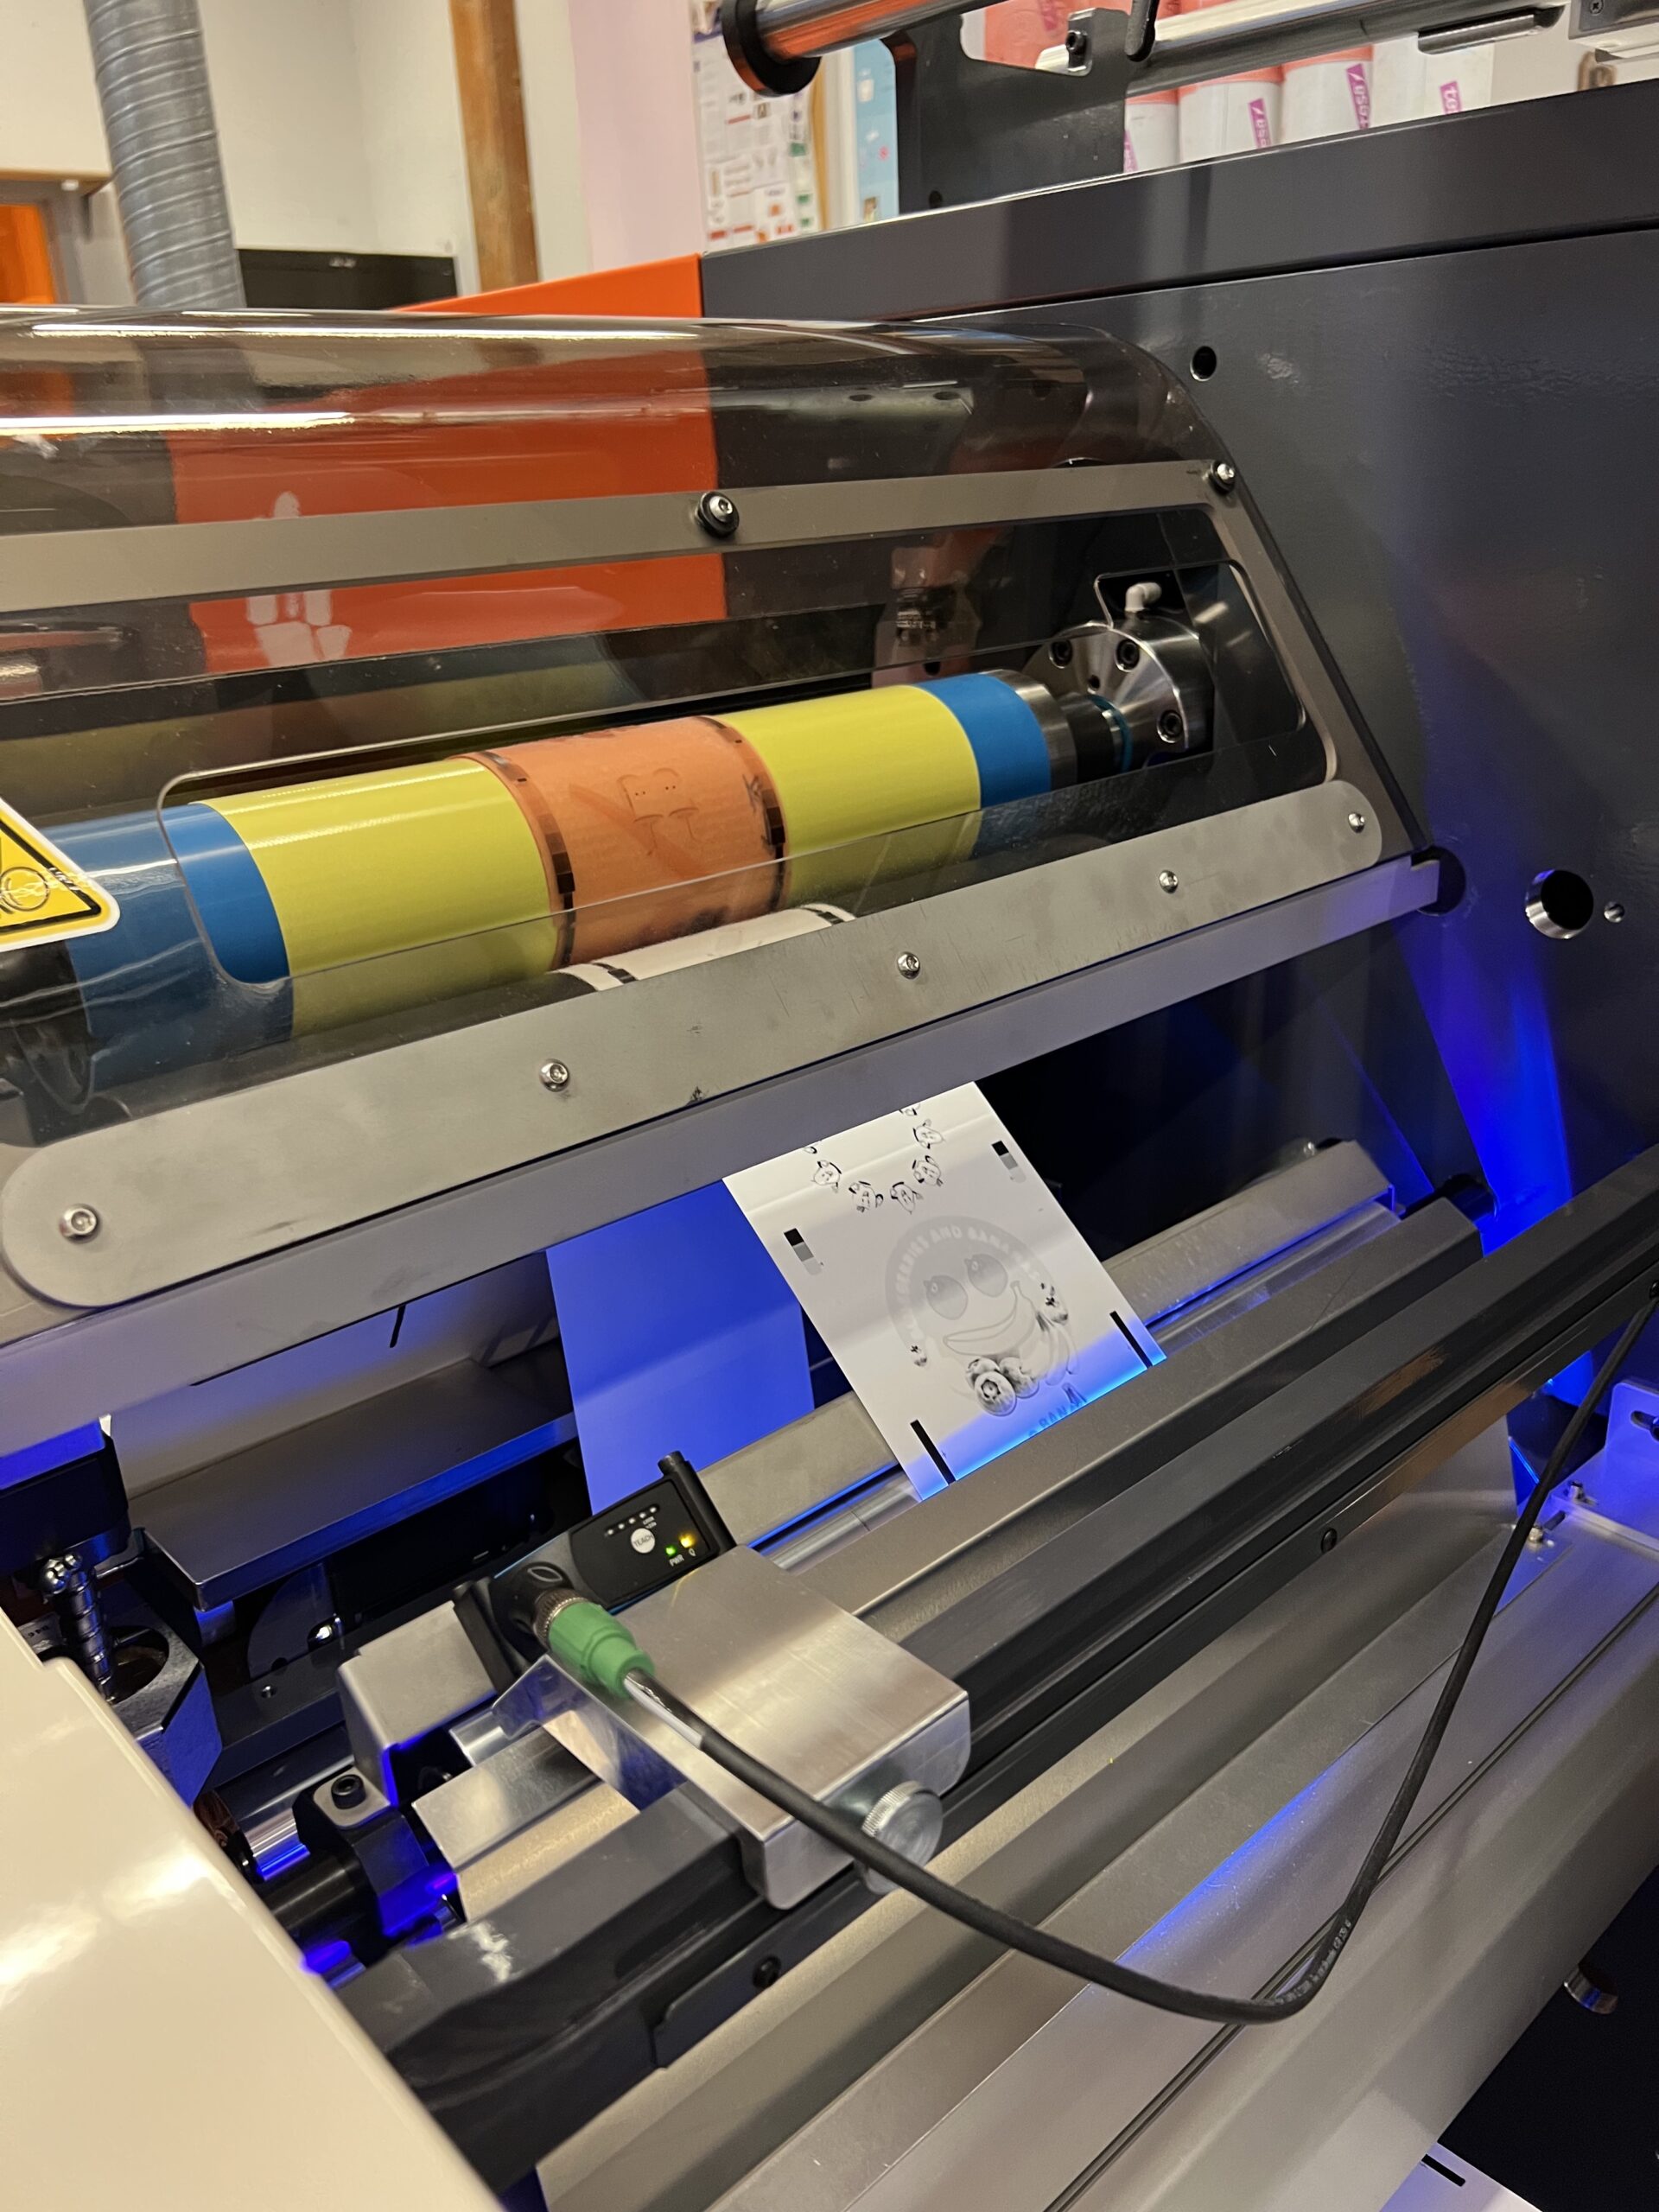
Step 2: Use the iPad to engage the cylinders and pull back impression until it breaks. Slowly move the impression forward until there are no color splotches, but not over impressed. Make adjustments accordingly based on how the registration aligns.
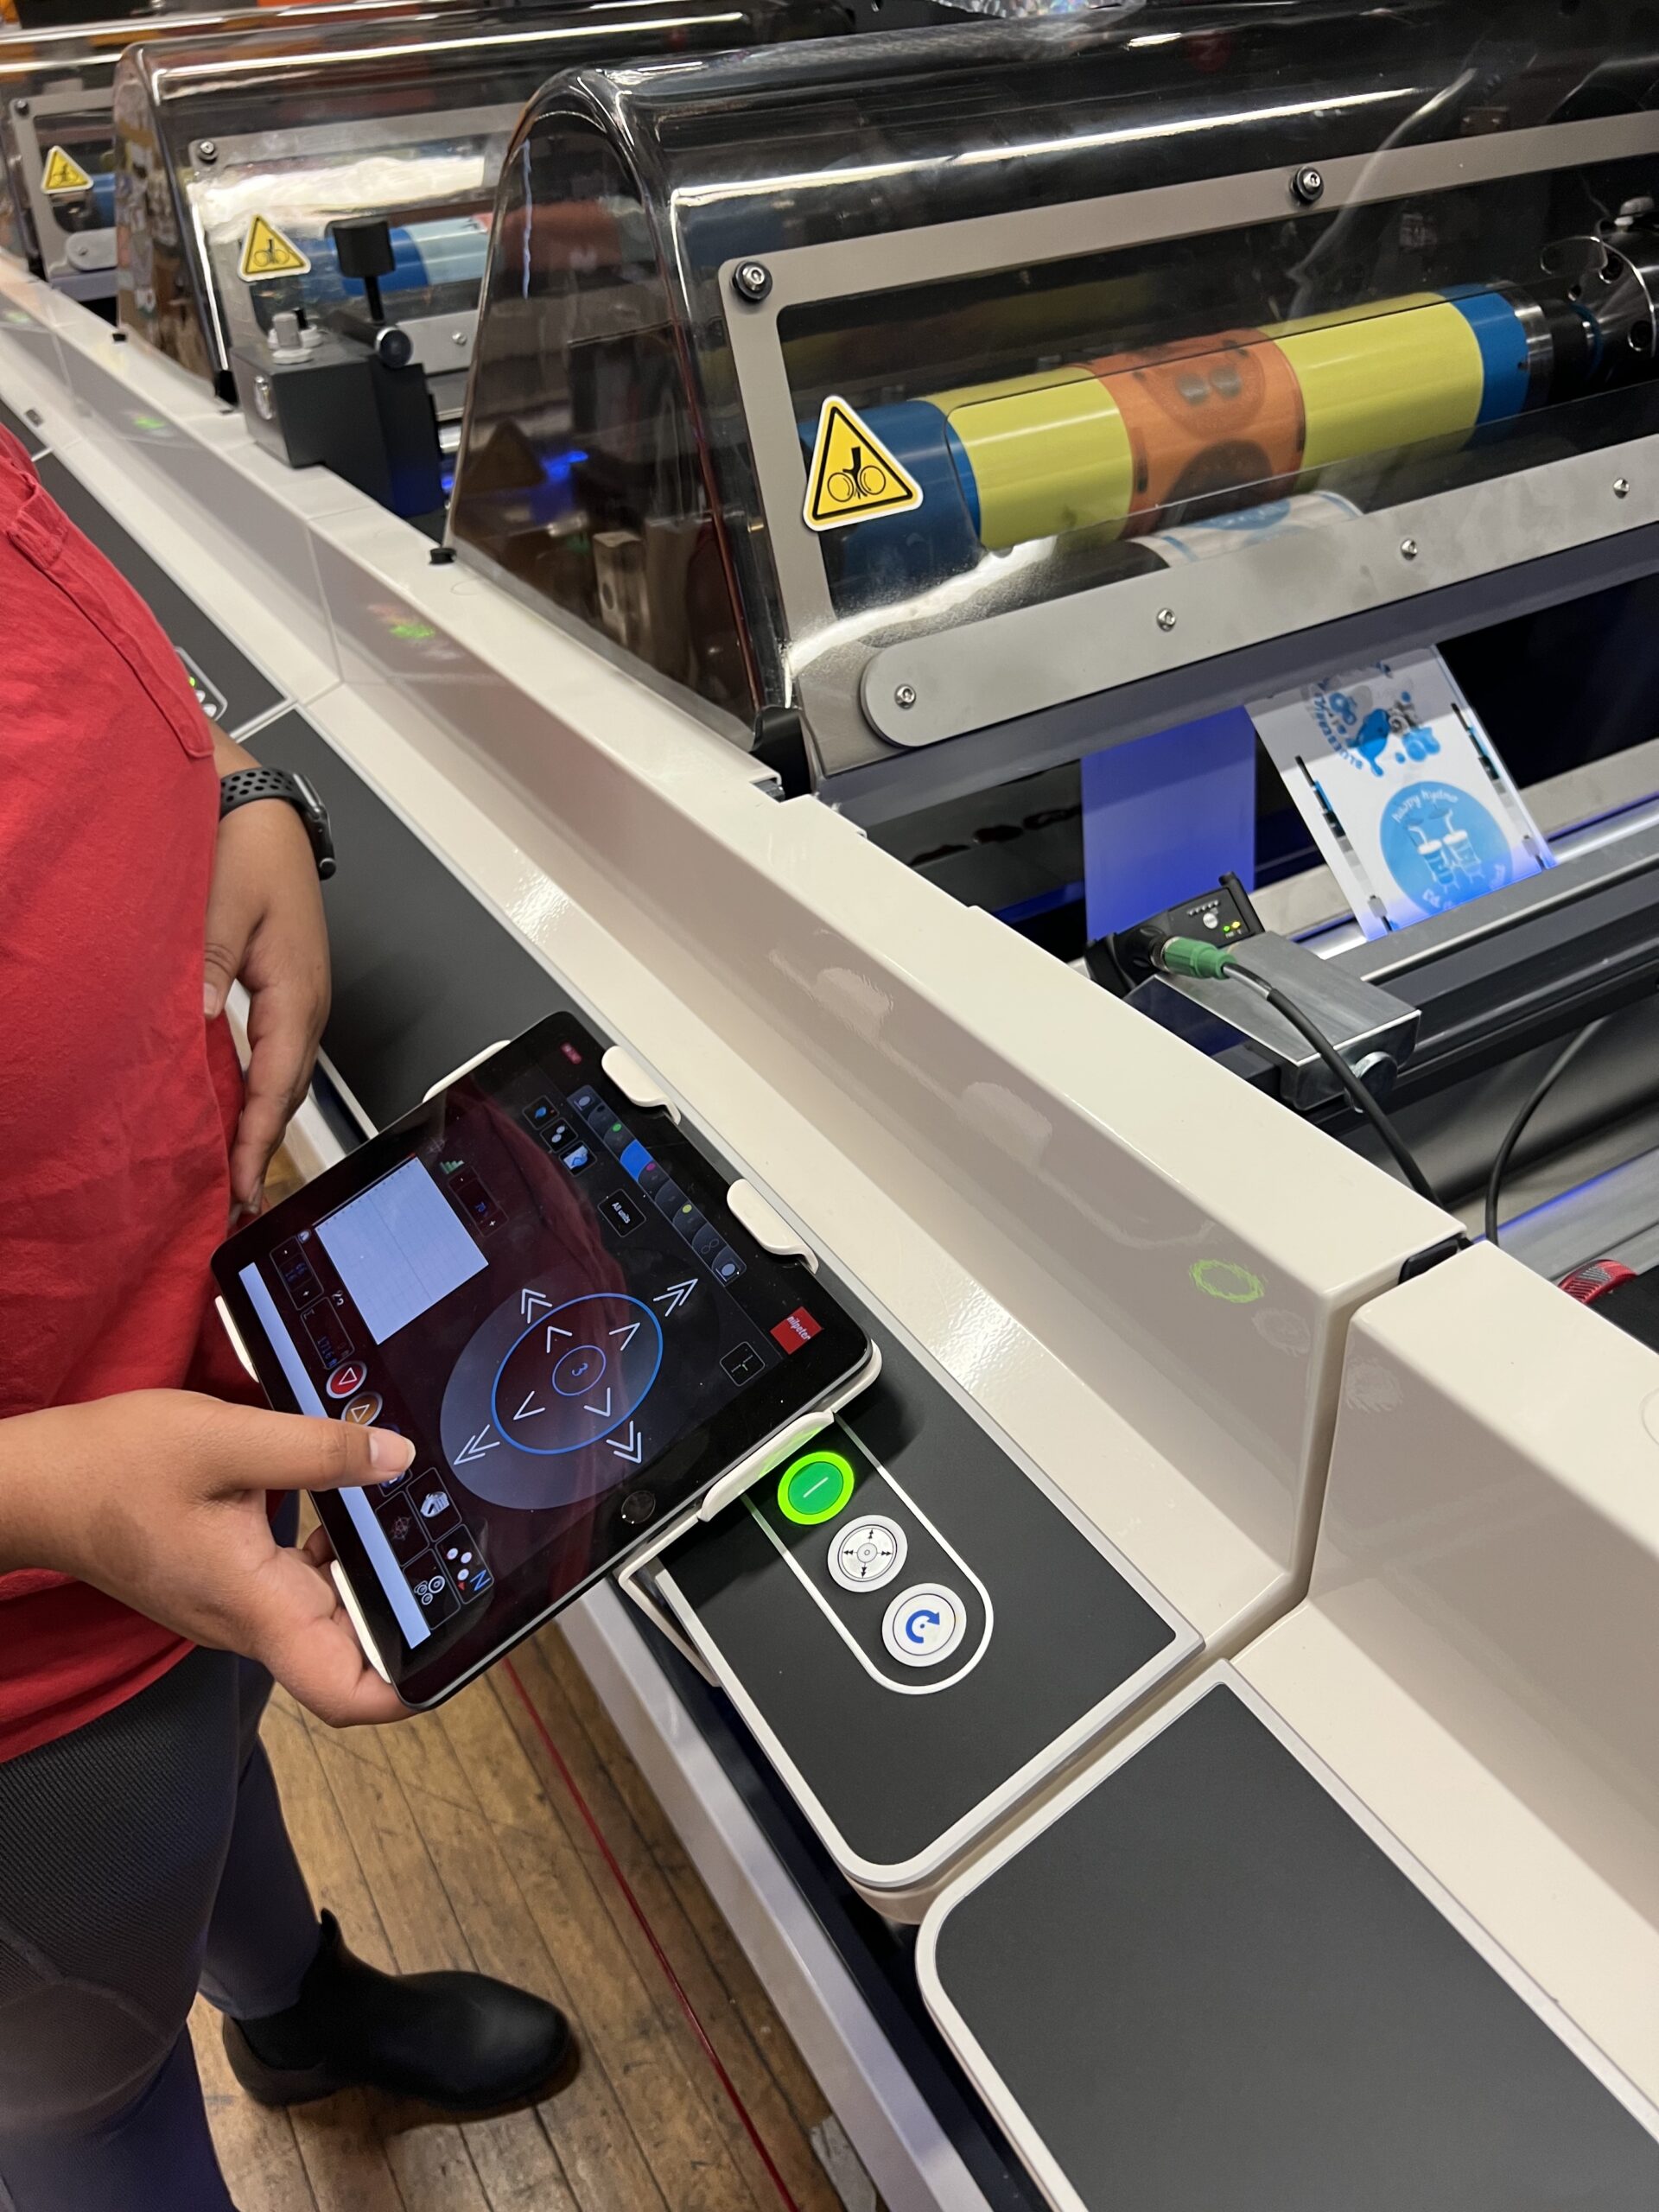
Step 3: Repeat registration adjustments for each ink color using the iPad.
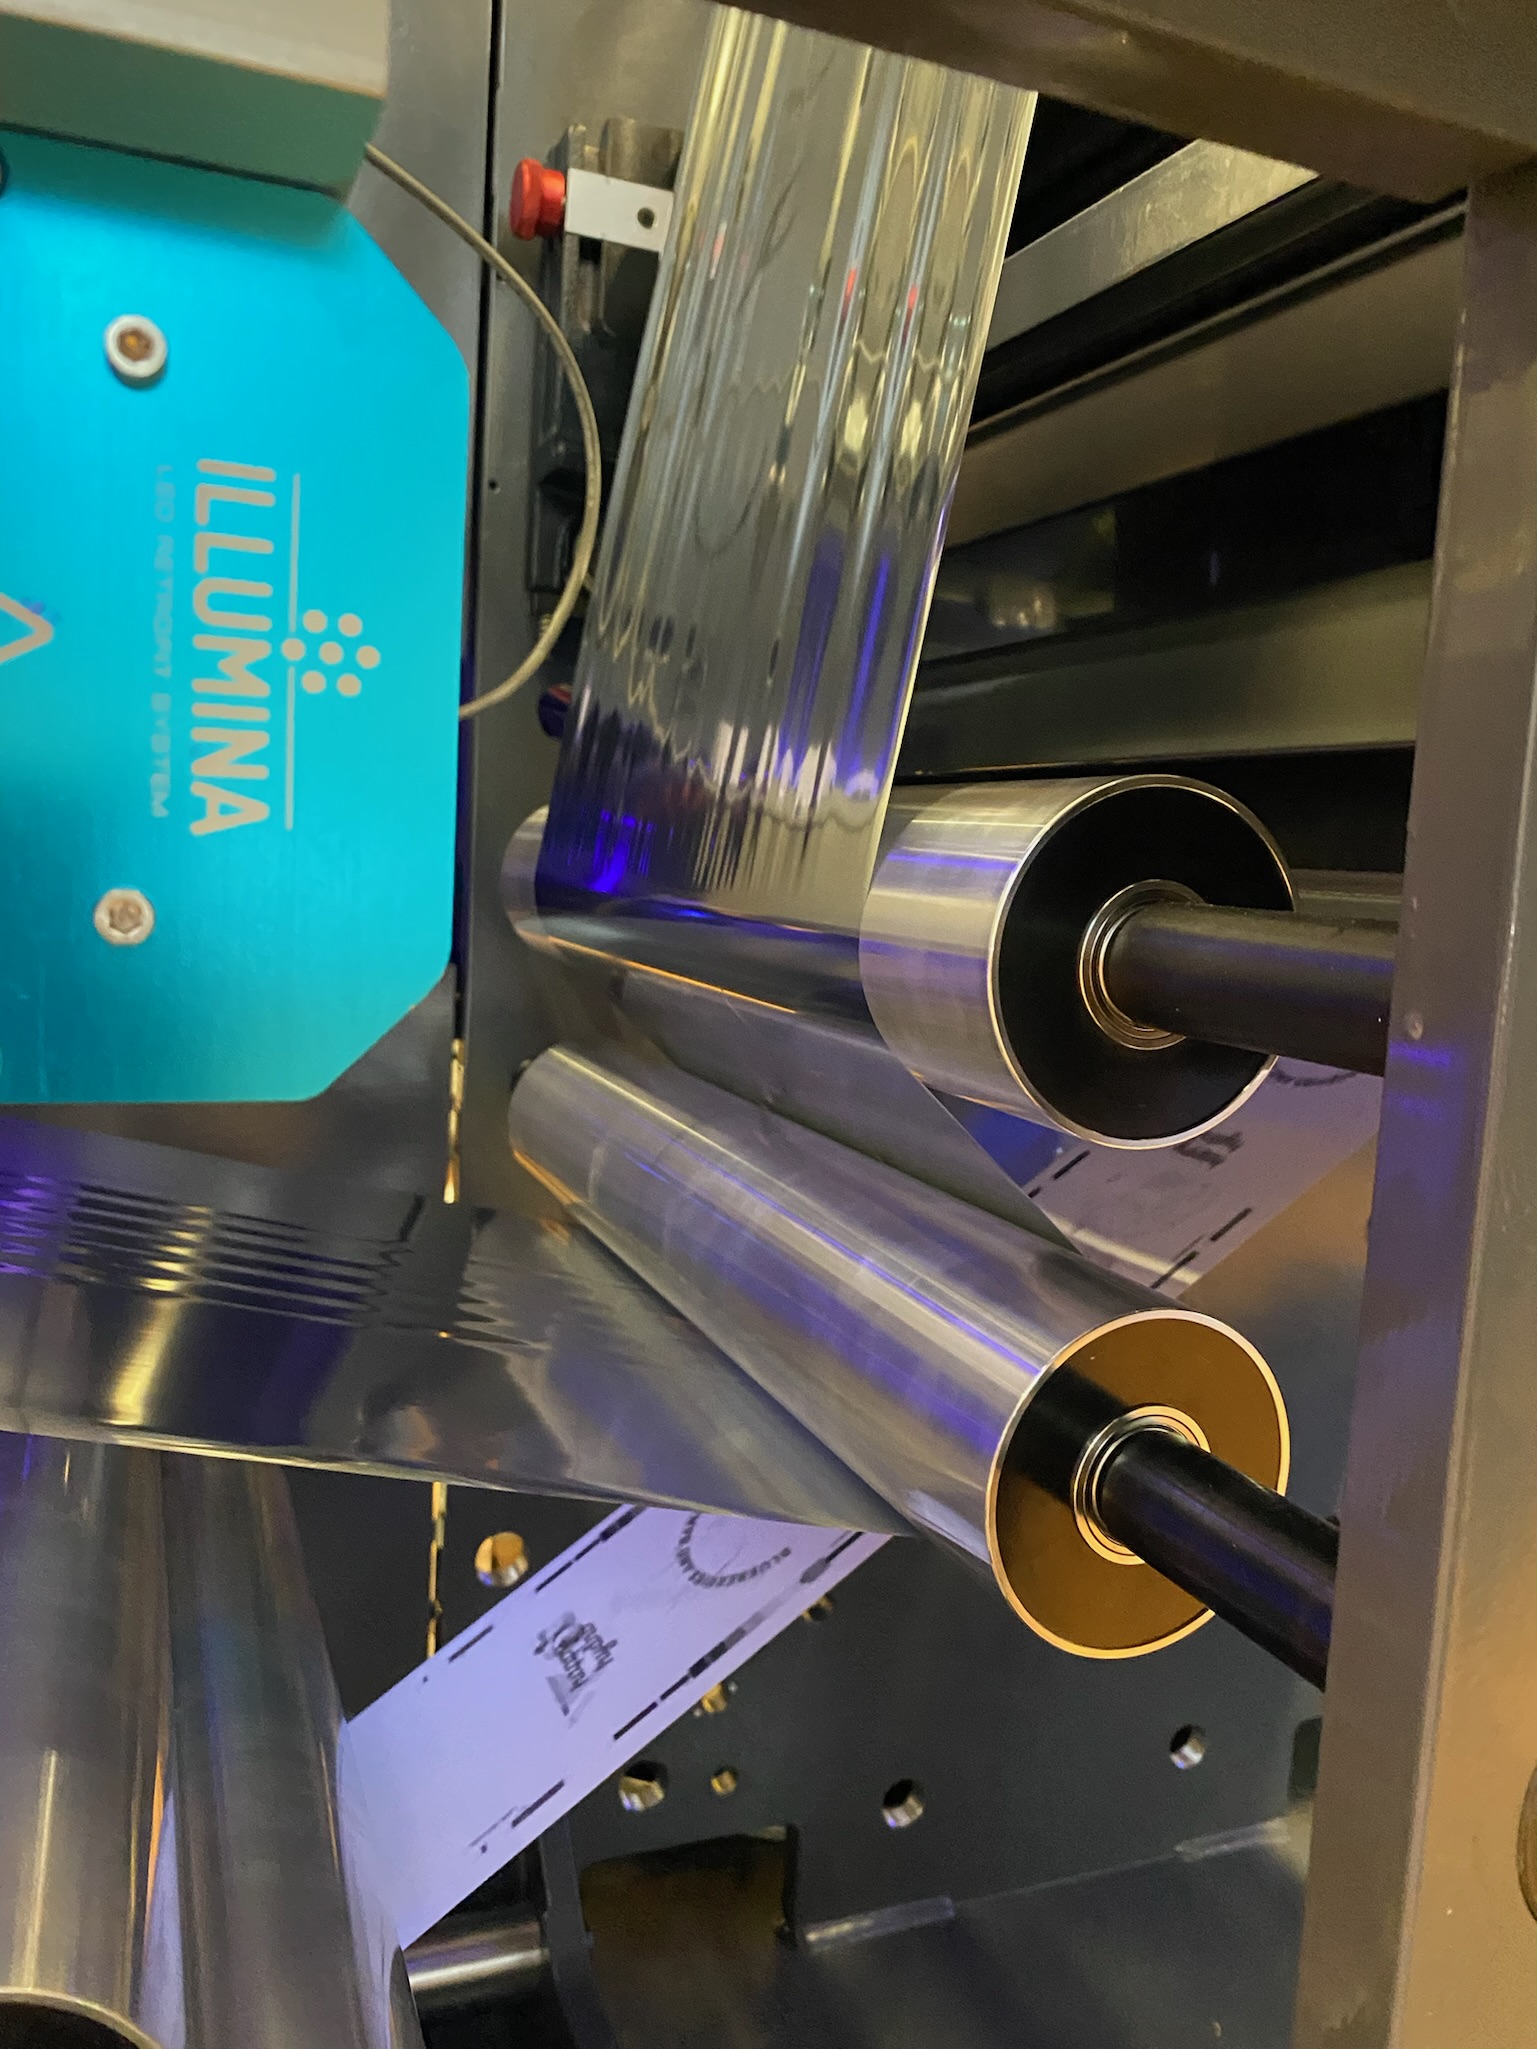
Step 4: Feed foil through press rollers and secure. Foil is pressed onto substrate.
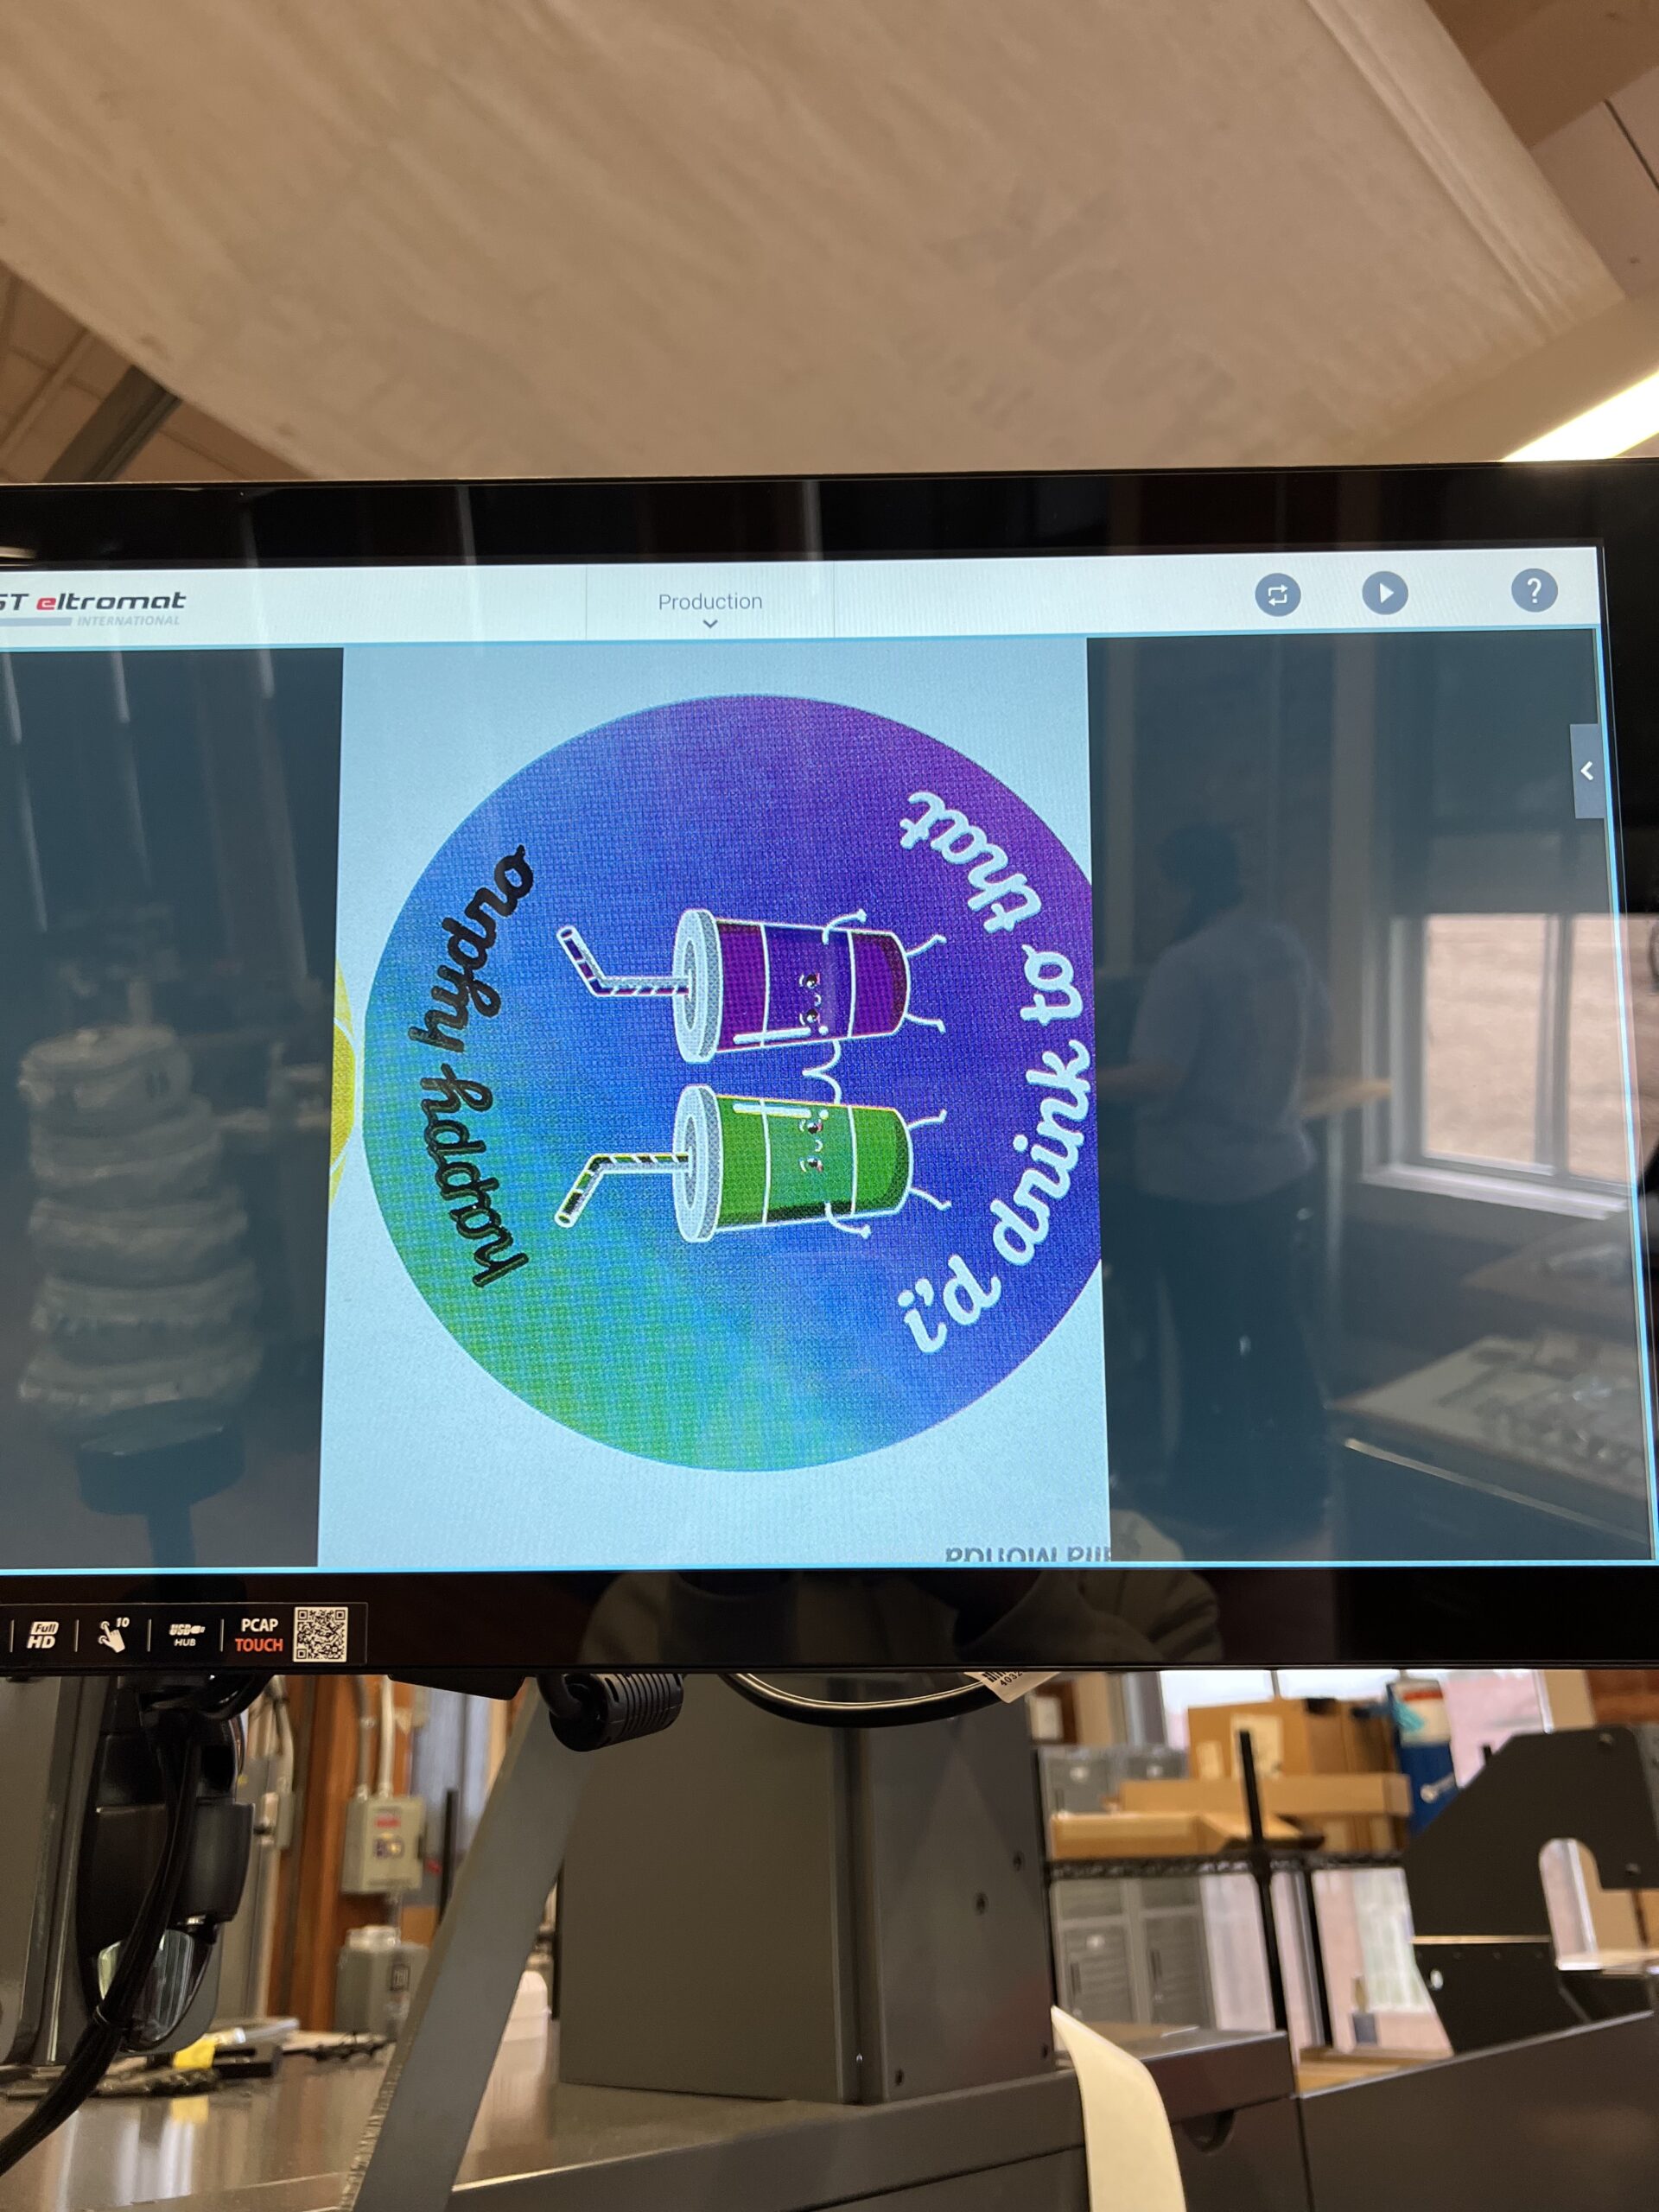
Step 5: Use the screen at the end of the press for a close up view of the registration, and adjust colors as needed. After printing the desired amount of stickers, turn off press and remove plate sleeves from plate cylinders.
Analysis
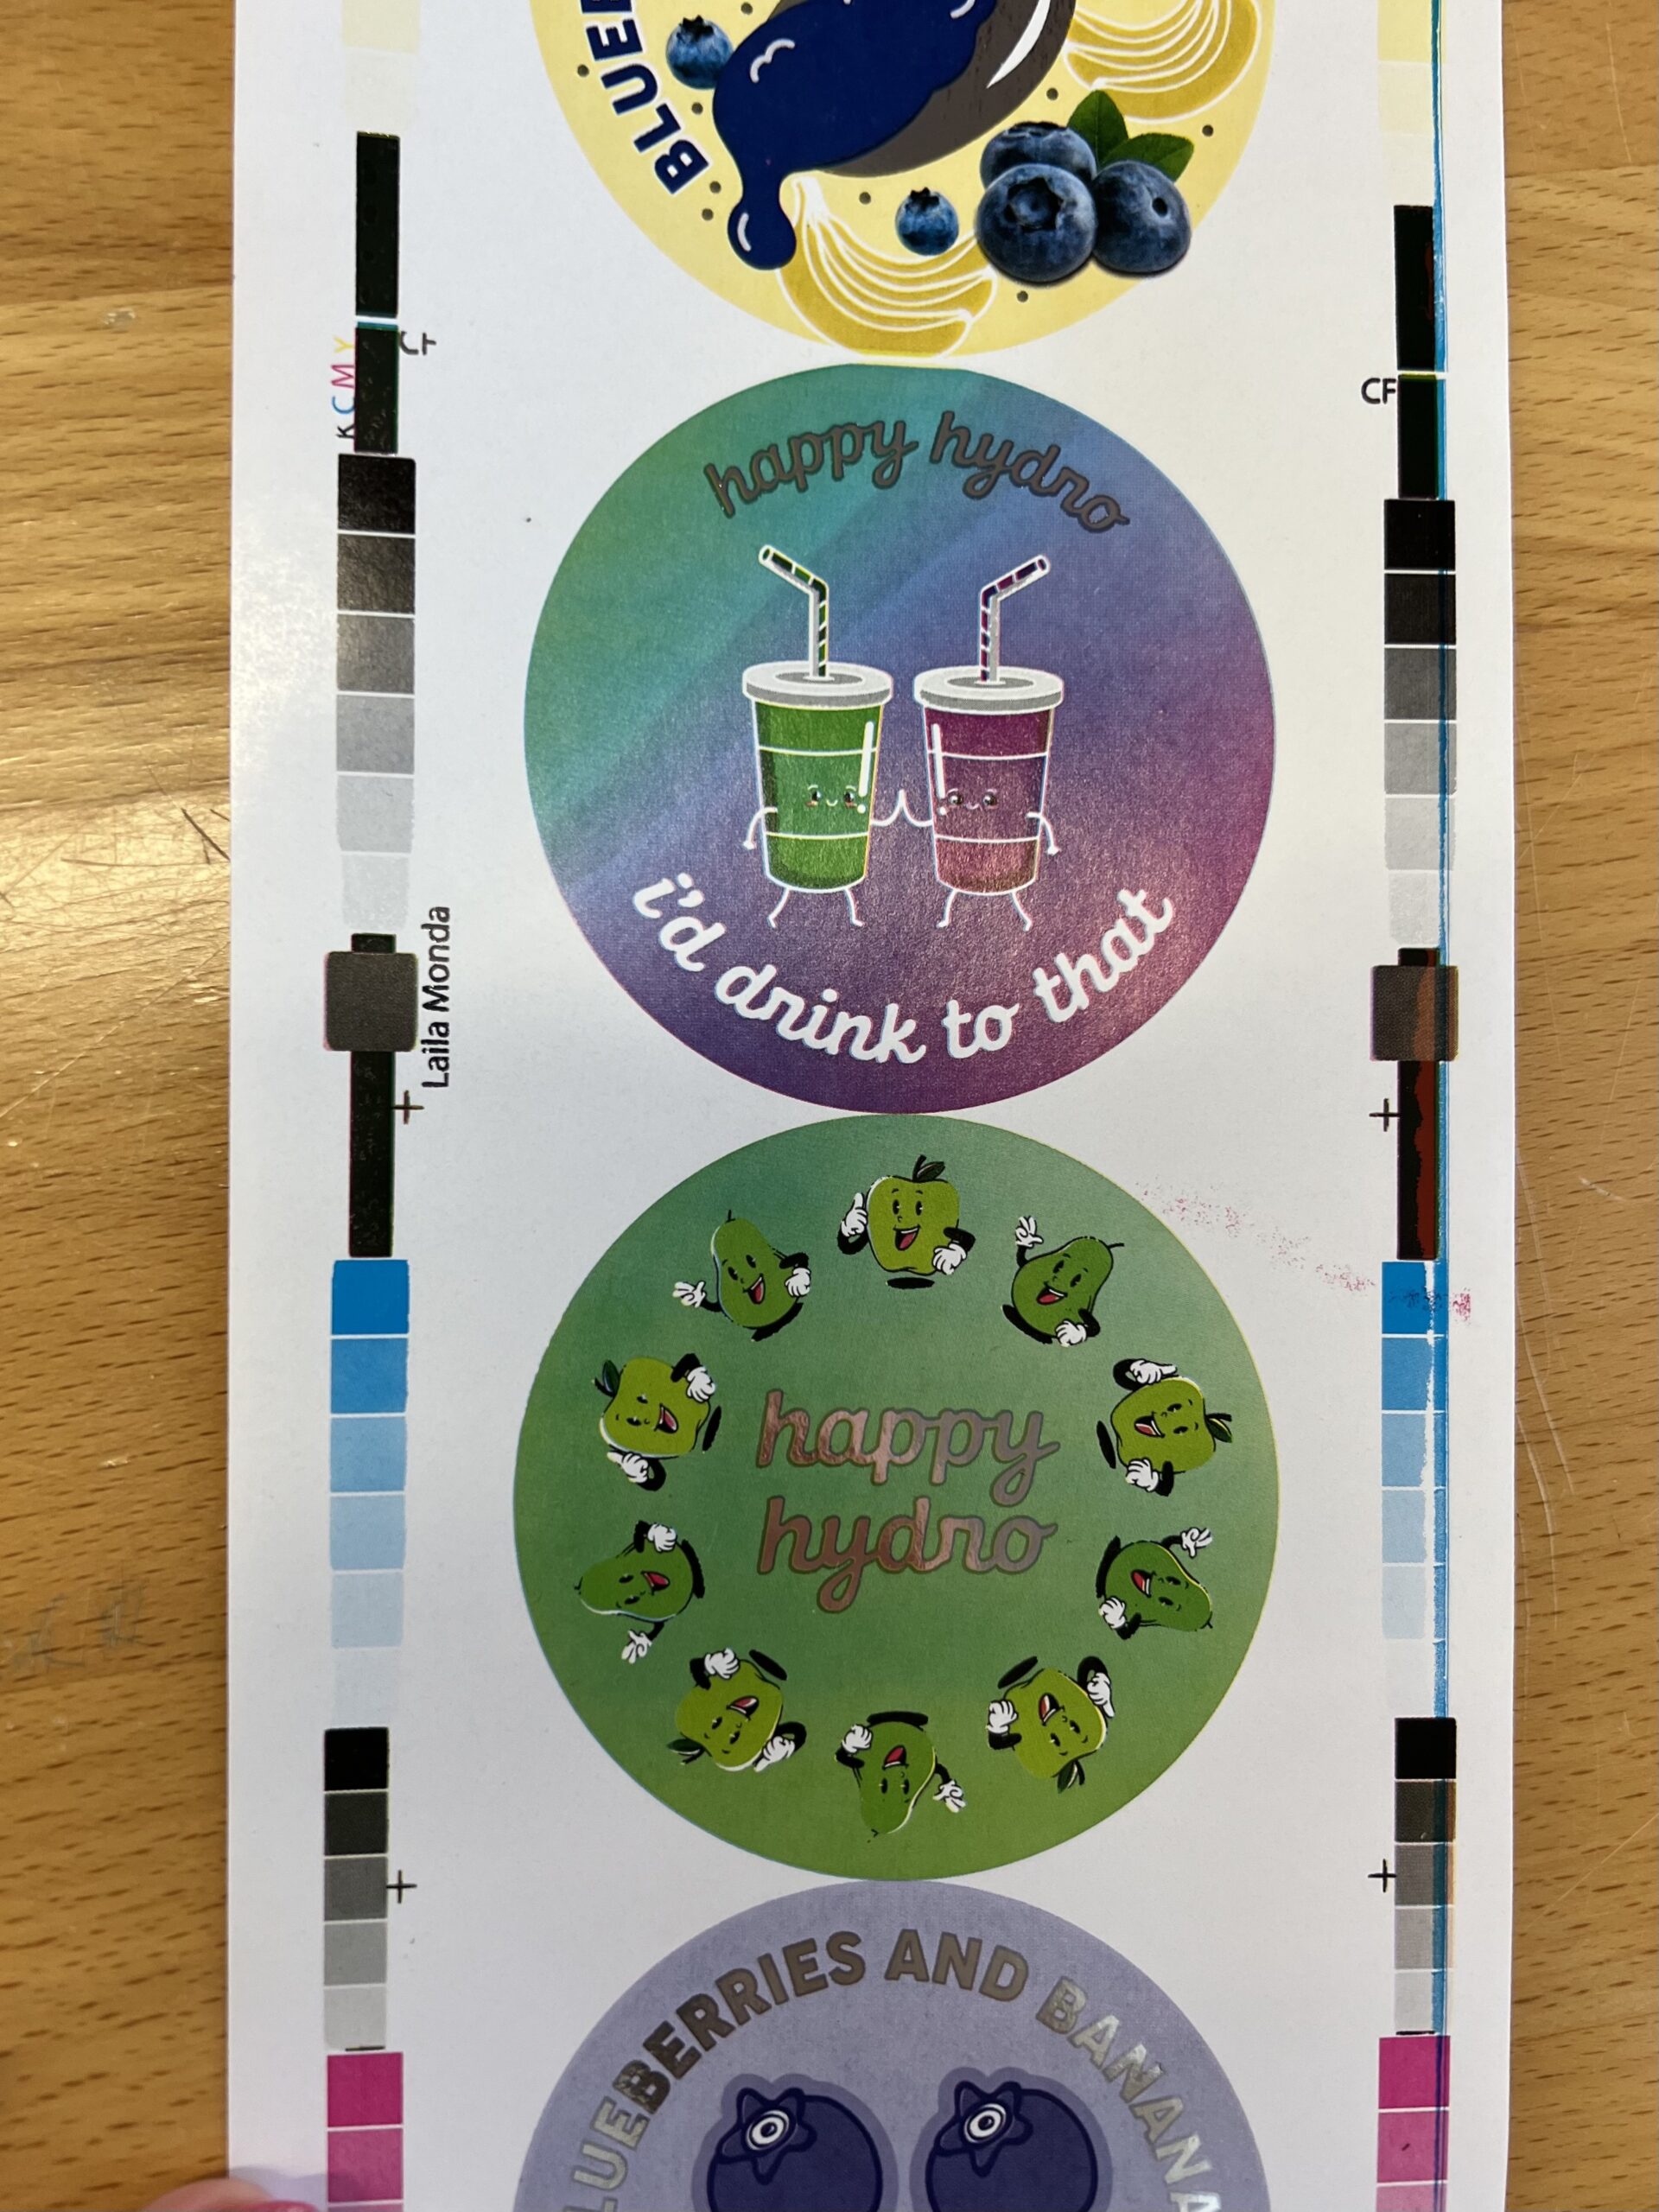
I was satisfied with the overall look of how my artwork was executed through print. If I were to print these stickers again I would not use reverse type. It was a little difficult to register and we could not get it exactly align perfectly.
I am fairly happy with the registration of all 4 colors and the foil even with the reverse text being a little off. It is important to watch ink metering slowly, so that you don’t add too much ink and over impress. The impression was already set prior to our press run, so we did not have to adjust it much for our artwork to print properly.
Our printed product looks very similar to our printed out proof, and the recreation was executed very well.
